5 Safety Checks for Oil Filter Leaks After Service, Richardson Drivers
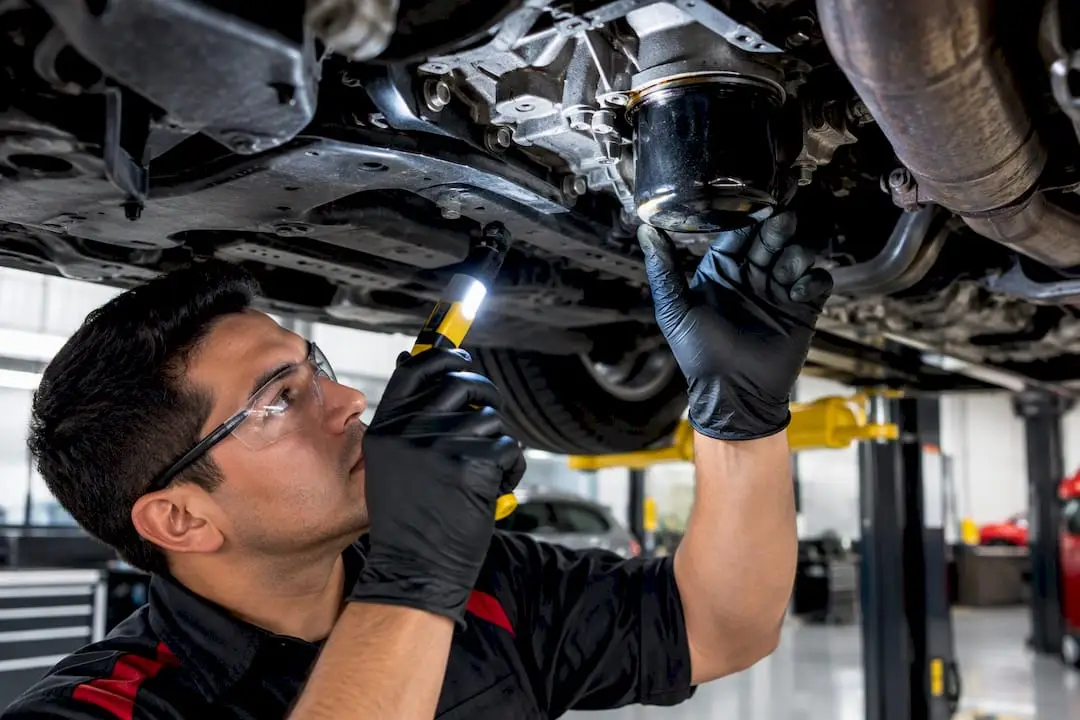
An oil filter leak right after service almost always traces back to installation, not a defective part: a leftover old gasket, a pinched seal, or a filter that wasn’t tightened to spec. Check your dipstick first. If you see smoke, smell burning oil, or watch the level drop fast, stop driving and pull over safely, then work through the diagnosis steps below before deciding whether this is a five-minute fix or a job for a technician.
TL;DR:
- Most oil filter leaks occur due to improper installation, such as leftover gaskets, cross-threading, or incorrect tightness, not manufacturing defects.
- Checking the oil level, inspecting the filter base, and observing leak patterns help identify whether the leak is minor weep or a significant spray requiring immediate action.
- A small weep can often be fixed by hand-tightening or replacing the gasket, but cracked housings or cross-threaded fittings need professional repair.
- Repeating leaks or signs like smoke, burning smell, or rapid oil loss indicate the need for expert diagnosis to prevent severe engine damage.
- Using proper torque, cleaning the mounting surface, and lubricating new gaskets during installation significantly reduce the risk of future leaks.
Table of Contents
- Common causes of a leak after an oil filter change
- Step-by-step checklist to confirm the leak source
- Practical DIY fixes: what to try now and when to stop
- Best practices to prevent oil filter leaks next time
- When the leak requires a pro, expected repairs, and cost factors
- How to tell if the fluid is really engine oil
- Why professional diagnosis catches what a quick look misses
- Get your oil filter leak checked at Kwik Kar in Richardson
- Sources
- FAQ
Common causes of a leak after an oil filter change
Most post-service leaks come down to a handful of repeatable mistakes, and Cars points to improper filter installation, cross-threading, and gasket problems as the usual suspects when a leak shows up right after an oil change. The most notorious is the double gasket: the old rubber ring stays stuck to the engine mount and the new filter gets installed on top of it, leaving two seals fighting for the same space. It often shows up as a slow drip that gets worse with engine heat.
A pinched, twisted, or torn gasket causes a similar problem, usually because it went in dry or got seated crooked. Cross-threading happens when the filter goes on at an angle, which prevents the seal from ever fully compressing no matter how hard you tighten it afterward. Under-tightening leaves a gap for oil to seep through, while over-tightening can crush the gasket or crack a plastic filter housing, so both extremes carry risk.
Less common but still worth checking:
- A cracked or warped filter housing that never seals evenly, even with a new gasket.
- A separated filter stem or a worn adapter O-ring on cartridge-style housings.
- A defective replacement filter with a manufacturing flaw in the seal groove.
- A leak that isn’t from the filter at all, like a loose drain plug or a failing oil pan gasket nearby.
Step-by-step checklist to confirm the leak source
Work through these checks in order, and stop immediately if you notice smoke or a burning smell: oil landing on parts running above 400 to 500 degrees Fahrenheit can ignite, and TheStreet flags that combination as an emergency, not a maintenance item.
- Pull the dipstick and check both the level and the color, then note how fast the level is dropping if you check again after a short drive.
- Look at the filter base and the mounting surface on the engine for an extra gasket ring, a bead of fresh oil, or a smear pattern.
- Compare a light weep against an active spray or a growing puddle underneath the car; the pattern tells you how urgent this is.
- Run the engine at idle for a minute or two from a safe distance and watch for a fresh oil trail forming along the filter or housing.
- Take clear photos of the filter, the mounting surface, and the ground stain so a technician can see exactly what you saw.
Even a small amount of oil loss can matter. AAA warns that a low oil level from an unresolved leak can lead to severe, irreparable engine damage, including seized components, which is why catching this early is worth the ten minutes it takes.
Practical DIY fixes: what to try now and when to stop
If the leak is a light weep and the filter housing looks intact, you can often correct it yourself. Start with the safest, least invasive step and work up from there.
- Top off the oil to a safe level on the dipstick before doing anything else, so the engine isn’t running low while you diagnose.
- Hand-tighten the filter snugly (most spin-on filters need roughly three-quarters of a turn past gasket contact), and recheck for new drips after a short idle.
- If that doesn’t stop it, drain the oil, remove the filter completely, and inspect the mounting surface for a stray old gasket.
- Wipe the mating surface clean with a rag, lubricate the new gasket with a thin film of clean engine oil, and seat the filter by hand before final tightening. CarParts notes that a lubricated gasket seats more evenly and resists pinching.
- Torque the filter or housing bolts to the specification listed in your owner’s manual, using a torque wrench where the design calls for one, then run the engine and recheck for leaks.
Keep these on hand before you start: the correct replacement filter for your engine, a torque wrench, a drain pan, fresh oil, clean rags, and a spare O-ring if your vehicle uses a cartridge-style housing. AutoZone lays out this same remove, replace, and torque sequence for housing-style leaks specifically.
Stop the DIY approach and call a shop if you find a cracked housing, obvious cross-threading, a spray pattern that won’t quiet down, or an oil level that keeps dropping no matter what you tighten.
Pro Tip: Photograph the mounting surface and the old gasket before you throw it away. It gives a technician a head start and can shorten your visit.
Best practices to prevent oil filter leaks next time
Most repeat leaks trace back to the same handful of habits, so building these into every oil change closes the gap for good.
- Always remove the old gasket completely and wipe the mounting surface clean before installing the new filter.
- Lubricate the new rubber gasket with a thin coat of clean engine oil so it seats without pinching or twisting.
- Confirm you’re using the correct filter part number for your specific engine, not just a close match.
- Tighten to the torque specification from the filter maker or your vehicle’s manual, using a torque wrench where practical.
- Inspect the filter housing threads and any adapter O-rings for wear, cracking, or debris, and replace them if you see damage.
When the leak requires a pro, expected repairs, and cost factors
Some signs mean it’s time to stop troubleshooting and book a technician. Heavy smoke, a burning smell, a warning light on the dash, oil dropping fast enough to notice within a single drive, or oil pooling steadily under the car all call for professional evaluation rather than another round of DIY guesses. AAA notes that rapid oil loss or visible burning can point to internal engine trouble that needs a technician’s evaluation, sometimes with disassembly involved.
Common shop repairs include replacing worn O-rings, swapping out a cracked or warped filter housing, correcting cross-threaded fittings, and addressing a drain plug or oil pan gasket that turned out to be the real source. Repair complexity and cost typically hinge on a few factors:
- Whether the fix is a simple gasket swap or a full housing replacement.
- How accessible the filter or housing is on your specific engine layout.
- The make and model, since some cartridge-style systems take longer to service than a basic spin-on filter.
- How much diagnostic time is needed to confirm the leak’s exact source.
Bring photos, your oil change receipt, and a clear description of when the leak started and how it’s behaved since. AutoZone notes that photographing the leak path and any removed gaskets speeds up accurate diagnosis and can trim both time and cost at the shop.
How to tell if the fluid is really engine oil
Not every drip under the car is oil, so it pays to check more than color before you assume the worst. Fresh engine oil usually runs amber to light brown, darkening toward black as it collects heat cycles and contaminants, but color alone can mislead you. AAA Club Alliance points out that visual color is unreliable on its own, since transmission fluid and power steering fluid can look surprisingly similar depending on age and lighting.
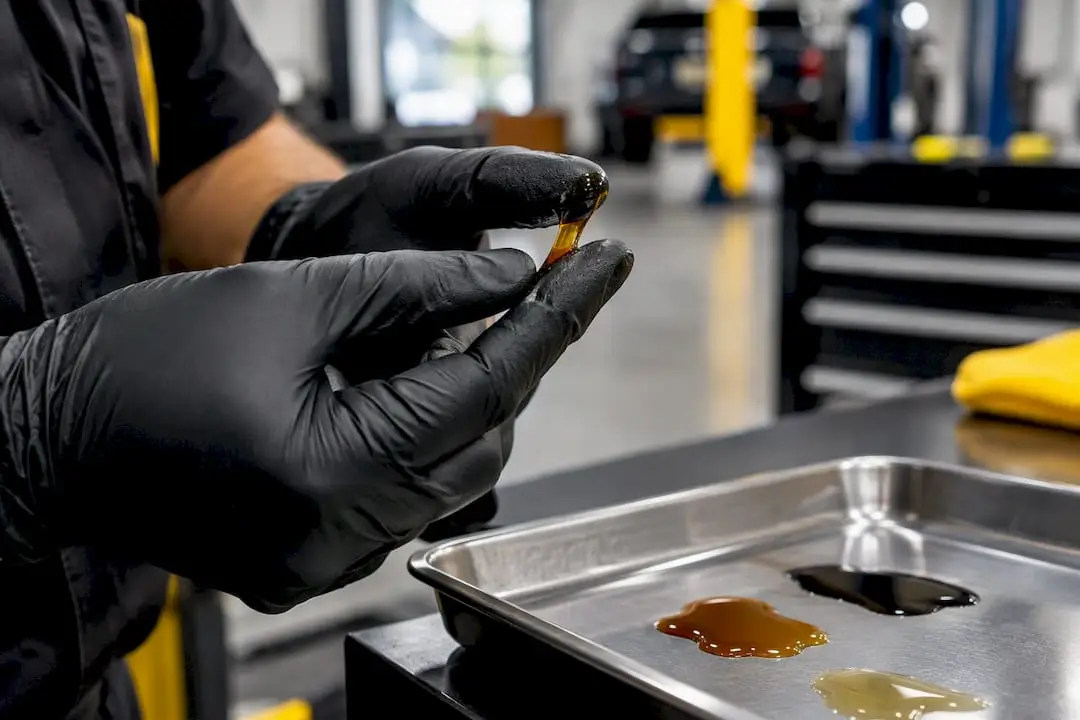
Texture and smell do more of the work. Engine oil feels slick and slightly thick between your fingers and carries a distinct burnt or cooking-oil aroma, especially after it has dripped onto a hot exhaust or engine block. Transmission fluid tends to run thinner and sometimes carries a faint sweet note, while coolant is usually thinner still and often has a sweeter, almost syrupy smell along with a green, orange, or pink tint depending on the formula. If you rub a sample between two fingers and it feels slick rather than watery, and it smells like burnt oil rather than something sweet, you’re likely looking at an oil filter leak rather than something else entirely.
Why professional diagnosis catches what a quick look misses
A rushed inspection can miss a hairline crack in a filter housing or early wear on an adapter O-ring, the kind of detail that separates a five-minute fix from a repeat leak. ASE-certified technicians bring dealership-level diagnostics to catch those details, along with secondary damage like an oil-soaked belt or a seal that’s starting to soften, before either turns into a bigger repair.
— Kwik Kar
Get your oil filter leak checked at Kwik Kar in Richardson
An oil filter leak rarely announces itself clearly, and getting it wrong once often means doing the job twice. Kwik Kar Oil Change & Auto Care in Richardson handles both routine oil changes and full engine diagnostics when a leak needs a closer look, backed by ASE-certified technicians and a transparent digital inspection report so you see exactly what they found.

Some shops are recognized by CARFAX and RepairPal and offer special discounts for military members and first responders. If your filter is leaking after a recent oil change or you’re not sure what you’re looking at underneath the car, call or book online for an inspection before a small weep turns into a bigger repair.
Sources
- Guide to automotive leaks | AAA
- AutoZone warns of a growing problem with America’s cars | TheStreet
- Cars
- How to Fix an Oil Filter Housing Leak | AutoZone
FAQ
Is it bad if your oil filter is leaking?
Yes, an oil filter leak should be addressed promptly because a low oil level can lead to severe engine damage, according to AAA. A light weep is usually manageable if caught early, but ignoring it risks the engine running low on oil.
How can I fix a leaking oil filter?
Start by hand-tightening the filter and checking for continued drips, then if that fails, drain the oil, remove the filter, clean the mounting surface, and install a new lubricated gasket before torquing to specification. AutoZone outlines this remove, replace, and torque sequence for filter housing leaks specifically.
Can you drive a car with a leaking oil filter?
A very light weep may allow a short, careful drive to a shop, but you should stop immediately if you see smoke, smell burning oil, or notice the oil level dropping quickly. TheStreet notes that oil contacting hot engine parts can ignite, which makes smoke or a burning smell a reason to pull over right away.
How much does it cost to fix an oil filter housing leak?
Cost depends on whether the repair is a simple gasket replacement or a full housing swap, plus labor access on your specific engine and how much diagnostic time is needed. Kwik Kar’s engine diagnostic service can identify the exact cause before any repair estimate is given.
Why is my oil filter leaking right after an oil change?
The most common reasons are a leftover old gasket creating a double seal, a pinched or twisted new gasket, cross-threading during installation, or a filter that wasn’t tightened to specification. Cars.com lists these installation errors as the typical causes when a leak appears immediately after service.