So, you're thinking about tackling a DIY fuel injector cleaning this weekend? It's a totally doable project, but whether it’s the right call really depends on what your car is doing and how comfortable you are getting your hands dirty under the hood. For a little bit of sluggishness, a bottle of fuel additive might be all you need. But for more stubborn issues, you might need to roll up your sleeves with a proper cleaning kit.
Should You Try DIY Fuel Injector Cleaning?
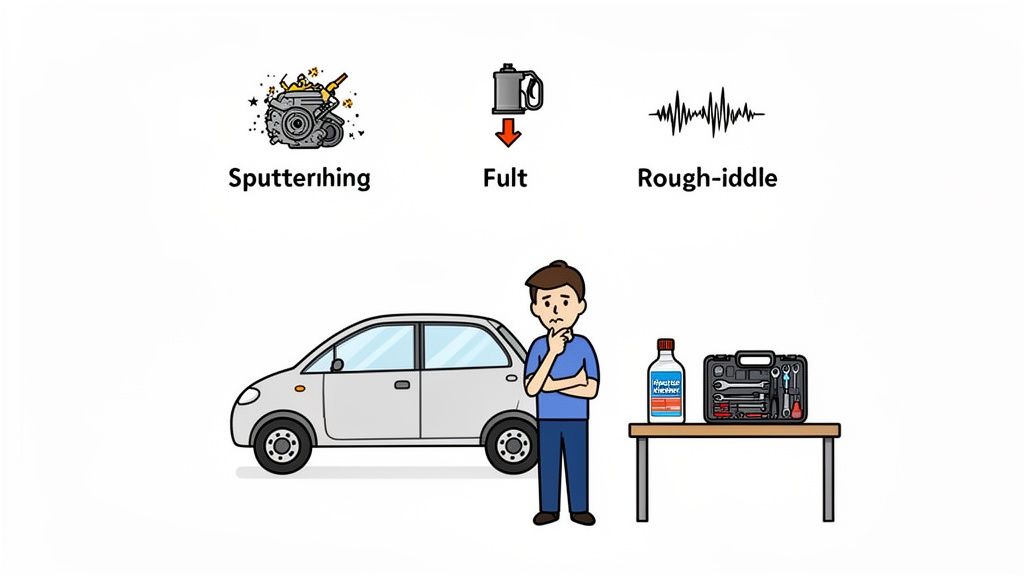
Before you start pulling things apart, let's have an honest chat about whether cleaning the injectors yourself is the best move. Is your engine sputtering? Does it idle rough at stoplights? Are you watching your fuel gauge drop faster than ever? These are all classic signs that your fuel injectors are probably gummed up.
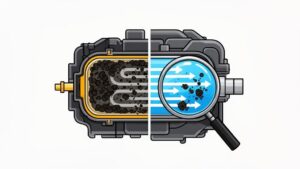
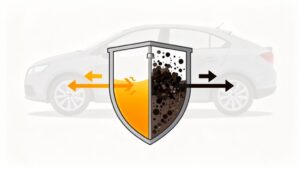
These little parts have a big job: delivering a fine, perfectly atomized spray of fuel. When they get clogged with carbon and other gunk, that fine mist turns into a weak, drippy mess. The result is poor performance and a hit to your wallet every time you fill up.
Believe it or not, dirty injectors can slash your fuel efficiency by as much as 15-20%. It’s a huge problem, and it's why the market for fuel injector cleaners is booming—growing from a USD 1.0 billion industry in 2025 to a projected USD 1.4 billion by 2035. You can dig into the data yourself in market research reports covering the fuel injector cleaner market growth.
Diagnosing The Problem
The first step in any good repair is solid diagnostics. You have to be sure you're fixing the right thing. Take a moment to really understand the common symptoms of bad fuel injectors to confirm if cleaning is the answer or if something more serious is going on.
To give you a clearer picture, I've put together a quick reference table. It breaks down what you might notice and when it's time to worry.
Diagnosing Dirty Fuel Injectors at a Glance
| Symptom | What You Might Experience | When to Be Concerned |
|---|---|---|
| Rough Idle | Your car shakes or vibrates when you're stopped at a light. | If it's consistent and getting worse over time. |
| Engine Sputtering | The engine seems to hesitate or misfire, especially during acceleration. | When it happens frequently, making driving feel jerky. |
| Poor Fuel Economy | You're filling up your gas tank more often than you used to. | If you notice a sudden drop of more than a few miles per gallon. |
| Check Engine Light | The dreaded light appears on your dashboard. | Always. Get the codes read to pinpoint the exact issue. |
| Fuel Smell | You catch a whiff of raw gasoline inside or outside the car. | Immediately. This could indicate a leak, which is a fire hazard. |
This table should help you match what your car is doing with potential injector issues. It's all about making an informed decision before you grab any tools.
If the symptoms seem mild and you’re ready to proceed, you have two main DIY routes to choose from.
- Fuel Additives: This is the easiest path. You just pour a bottle of cleaner into a full tank of gas. It gets to work dissolving deposits as you drive. This is a great choice for routine maintenance or very light clogs.
- DIY Cleaning Kits: This is a more involved method where you hook up a pressurized can of powerful cleaner directly to the engine's fuel rail. It delivers a concentrated blast that provides a much deeper and more immediate clean.
Key Takeaway: A DIY approach is most effective for preventative maintenance or mild symptoms. If you're experiencing severe performance issues, a persistent check engine light, or the smell of fuel, it's wiser to pause and seek professional diagnostics.
Ultimately, it’s about knowing your car and your own limits. This guide is here to give you the confidence to either tackle the job yourself or make the smart call to bring in a certified technician.
Your Two Main DIY Fuel Injector Cleaning Options
So, you've figured out your fuel injectors are probably dirty. What's next? When it comes to a DIY fuel injector cleaning, you’ve basically got two routes to choose from. Each one comes with its own price tag, level of difficulty, and, most importantly, effectiveness. Knowing the difference is the key to picking the right job for your car and your own comfort level with getting under the hood.
The first path is the easiest by far: the pour-in fuel additive. This is as simple as it sounds. You buy a bottle, pour it in your tank before you fill up, and just drive. It's the "set it and forget it" approach to fuel system maintenance.
Your second, more hands-on option is using an 'on-car' cleaning kit. This job requires you to get your hands a little dirty. You'll need to disable your car's fuel pump and feed a potent, concentrated cleaning solution straight into the fuel rail, bypassing the gas tank entirely. It’s a much more direct assault on those stubborn deposits.
The Low-Effort Path: Fuel Additive Cleaners
Don't write off bottled cleaners just because they're simple. The right product can do a surprisingly good job, especially for regular upkeep. The secret is hunting down one key ingredient: Polyetheramine (PEA). A lot of the cheaper stuff uses weaker detergents, but PEA is a tough, high-temperature chemical that’s a champ at dissolving baked-on carbon from injector tips, valves, and combustion chambers.
A $15 bottle of a quality, PEA-based cleaner is perfect for a few things:
- Preventing future clogs: Use it regularly, and it’s great at stopping new gunk from forming.
- Fixing minor flow problems: It can often clear up light to moderate deposits over the course of a single tank of gas.
- Maintaining a healthy spray pattern: It helps the injector atomize fuel into a fine mist, which is exactly what you want for efficient combustion.
Think of it like brushing your teeth. It’s a fantastic preventative habit for long-term health, but it's not going to fix a serious cavity that’s already there. This is a great option for cars with over 50,000 miles that haven't had a fuel system service, or for anyone who just wants to keep their engine running clean.
Expert Tip: For the best results, pour the cleaner into a nearly empty tank right before you fill up. This helps it mix completely with the fresh gasoline, ensuring it cleans consistently as you drive.
As convenient as this is, there's a limit to its power. The cleaner gets heavily diluted in 10-20 gallons of gas, so it just doesn't have the strength to knock out severe blockages that are already making your engine hesitate or misfire.
The More Involved Route: On-Car Cleaning Kits
If you're dealing with more obvious symptoms and you're okay with some basic wrenching, an on-car cleaning kit is the logical next step. These kits, usually running between $50 and $100, deliver a much more concentrated, immediate clean.
The general game plan looks something like this:
- Depressurize the fuel system: This is a non-negotiable first step for safety.
- Disable the fuel pump: You’ll typically do this by pulling the right fuse or relay from the fuse box.
- Connect the kit to the fuel rail: The kit will have a canister of pressurized cleaner that you'll attach to the fuel rail's service port (it looks like a tire valve).
- Run the engine on the cleaner: You'll start the car and let it run directly on the cleaning solution until the can is empty.
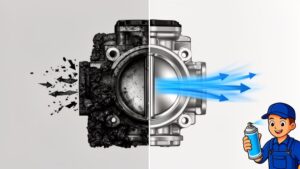
This method literally forces a powerful solvent through the injectors at high pressure, blasting away the kind of tough carbon buildup that a simple additive can't touch. The results are often immediate—many people report a smoother idle and crisper throttle response right after they're done.
This approach is a fantastic middle ground. It's way more effective than a bottle of additive but far less complicated and expensive than pulling the injectors out for a professional ultrasonic cleaning.
Still, it's important to have realistic expectations. For example, while some cleaner manufacturers advertise power boosts of 4-7%, the reality is that even these more intensive DIY kits might only clear out 60-70% of the really baked-on carbon deposits. As some market analysis on the effectiveness of fuel injector cleaners points out, there's a clear gap between what you can do at home and what a professional service with specialized equipment can achieve.
By understanding what each of these DIY options can realistically do, you can make a smart choice that fits your car's needs, your budget, and your willingness to get your hands dirty.
A Practical Guide to Off-Car Ultrasonic Cleaning
For those who want a truly professional-grade clean without the professional price tag, the 'off-car' ultrasonic method is the ultimate DIY fuel injector cleaning project. This approach goes far beyond simple additives or on-car kits, aiming to restore your injectors to almost factory-fresh condition. It’s definitely the most thorough cleaning you can tackle at home, but it's also the most involved, requiring a bit of patience and careful attention to detail.
Think of this guide as your personal workshop manual for the job. We'll walk through everything from safely removing the injectors to the nitty-gritty of pulsing them in an ultrasonic bath. While it takes more effort, the results can be a night-and-day difference in engine smoothness, power, and fuel economy—especially for older or high-mileage vehicles.
The Essential First Steps: Safety and Removal
Before a single tool touches your engine, safety has to be your number one priority. You're about to work with a pressurized fuel system, and gasoline is highly flammable. Handling it improperly is seriously dangerous.
First things first, you absolutely must depressurize the fuel system. The exact procedure can vary between vehicles, but it usually involves disabling the fuel pump by pulling its fuse or relay, then starting the engine and letting it run until it stalls. This bleeds off the pressure in the lines and fuel rail, making everything much safer to take apart.
Next, disconnect the negative battery terminal. This simple step prevents any stray electrical sparks while you're working, which could be catastrophic with fuel vapors in the air. Once you've completed these two critical safety steps, you're ready to start the mechanical work.
The infographic below shows how this method fits into the bigger picture of DIY cleaning options.
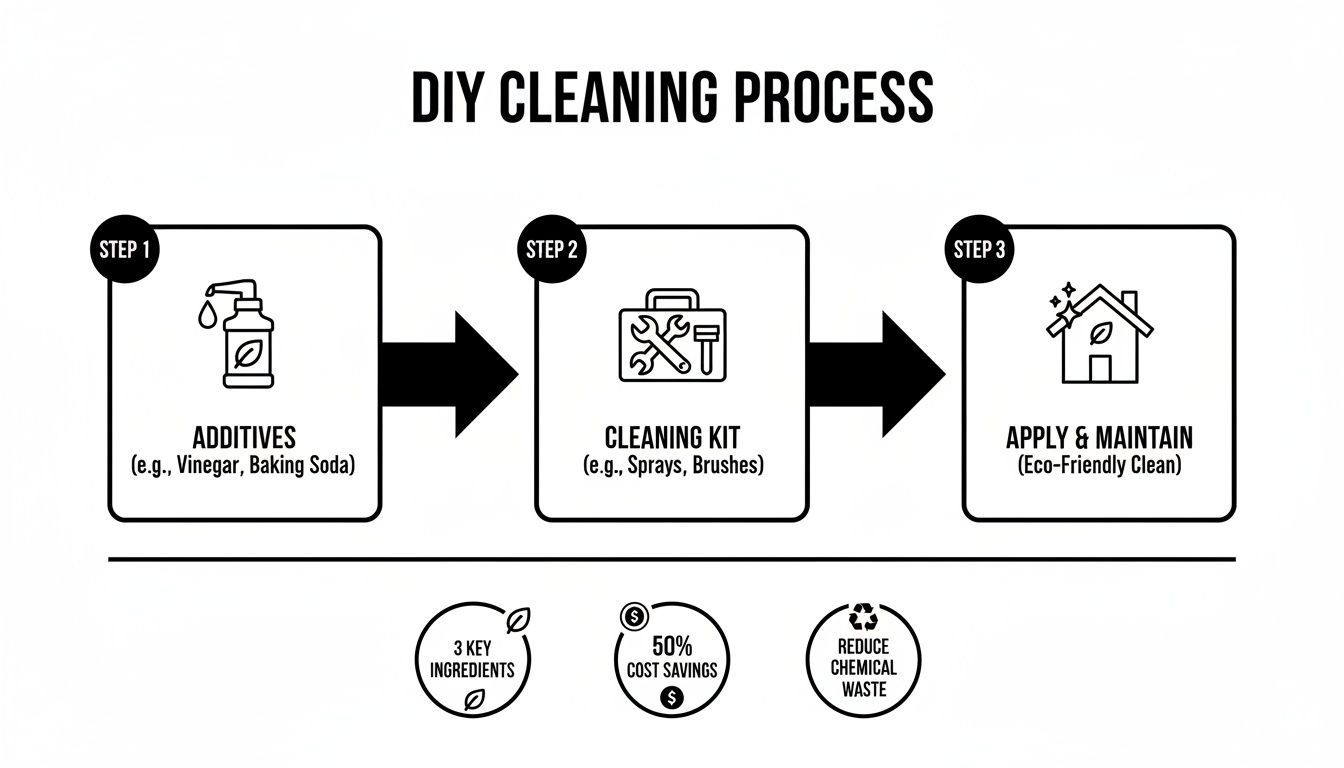
As you can see, moving from simple fuel additives to hands-on kits and off-car cleaning increases the complexity, but also the potential effectiveness of the job.
Locating and Removing the Fuel Rail
Now, it's time to find the fuel rail and injectors. On most engines, you'll see the fuel rail as a metal pipe sitting on top of the intake manifold. The injectors plug into both the rail and the manifold. You’ll likely need to remove plastic engine covers, air intake pipes, or other brackets to get clear access.
Gently disconnect the electrical connectors from each injector. These plastic clips can get brittle with age, so take your time. A small flat-head screwdriver can often help persuade the retaining clip to release without snapping.
With the wiring moved aside, you can unbolt the fuel rail from the intake manifold. It's typically held on by just a couple of bolts. Once they’re out, you can wiggle and pull the whole assembly upward. The injectors will probably come out attached to the rail, held in by their O-rings.
Pro Tip: Keep some shop towels or rags handy. Even after depressurizing, a little bit of leftover gas will spill out. Catching it immediately is key to keeping it off a potentially hot engine surface.
The Heart of the Process: Ultrasonic Cleaning
With the injectors free, it's time for the real magic. An ultrasonic cleaner uses high-frequency sound waves to create microscopic bubbles in a cleaning solution. These bubbles implode with incredible force, blasting away carbon deposits and gunk from every nook and cranny of the injector—all without causing any damage.
You’ll need a few key things for this part:
- An ultrasonic cleaner (small hobby-grade units are surprisingly affordable).
- A dedicated injector cleaning fluid (plain water won't cut it).
- A way to pulse the injectors while they clean.
Pulsing is the secret ingredient here. A closed injector won't let any cleaning solution reach the internal pintle and seat, which is where the worst buildup happens. You have to cycle the injectors open and closed while they're submerged in the cleaner.
Building a Simple DIY Pulser Circuit
You don't need a high-dollar machine for this. A simple DIY circuit is all it takes, using a 12V power source (like a spare car battery), a momentary switch, and some basic alligator clips.
- Connect the positive lead from your power source to one terminal on the momentary switch.
- Run a wire from the other switch terminal to the positive pin on the injector's electrical connector.
- Connect the negative lead from your power source directly to the negative pin on the injector.
Now, pressing the button completes the circuit and opens the injector. When you let go, it closes. This manual pulsing is what lets the cleaner do its work on the inside.
Submerge the injectors in the ultrasonic cleaner's basket, filled with the cleaning fluid, and make sure the tips are fully covered. Turn the machine on (a heated cycle works best) and start pulsing the injectors every few seconds. Run them through a 15-20 minute cycle. You'll probably see clouds of grime coming out of the tips as they clean.
Reconditioning and Final Testing
After the ultrasonic bath, you're not quite done. The injectors need a little reconditioning and a quick test before going back into the engine.
First, back-flush them. This just means using a can of carburetor cleaner with a straw to spray fluid into the injector's inlet side while pulsing it. This forces any debris you just broke loose out through the tip, so it doesn't get stuck again.
Next, it's absolutely vital to replace all the seals. Every injector has at least two O-rings, and many also have a tiny plastic pintle cap on the tip and a filter basket inside. You can find inexpensive rebuild kits online with all these new parts. Use a small pick to carefully remove the old, hardened seals and filters. A little motor oil on the new O-rings will help them slide in and seal perfectly.
Before reinstalling everything, a quick spray pattern test is a good idea. For a deep dive on testing, check out our complete guide on how to test fuel injectors with home methods. For a quick check, connect your injector to a can of cleaner and give it a few pulses. You want to see a fine, cone-shaped mist—not a weak dribble or a solid stream. All your injectors should have a similar spray pattern.
Finally, carefully press the reconditioned injectors back into the fuel rail, then seat the whole assembly onto the intake manifold. Torque the bolts to your vehicle's spec, plug in all the connectors and fuel lines, and reconnect the battery. Turn the key to the "on" position (don't start it yet) a few times to let the fuel pump prime the system. Check carefully for any leaks before you fire up the engine.
Knowing Your Limits: When to Call a Pro
There’s a ton of satisfaction in fixing your own car, but a smart DIYer knows exactly when to put the tools down. When you're working on your vehicle's fuel system, the stakes are seriously high. A small mistake isn't just about a project gone wrong; it can get expensive fast, and more importantly, it can be extremely dangerous.
This is your reality check. The whole point of a DIY fuel injector cleaning is to make your car run better, not worse. One of the most common—and riskiest—mistakes is damaging the little O-rings that seal the injectors. If you nick one during removal or reinstallation, you can create a high-pressure fuel leak that sprays gasoline all over a hot engine. The fire risk is immediate and very real.
Likewise, putting an injector back in at the wrong angle or failing to seat it properly can create a bad seal. Not only will this give you a rough idle and poor performance, but it can also let fuel seep into your engine oil, leading to major engine damage over time.
Warning Signs That Mean Stop
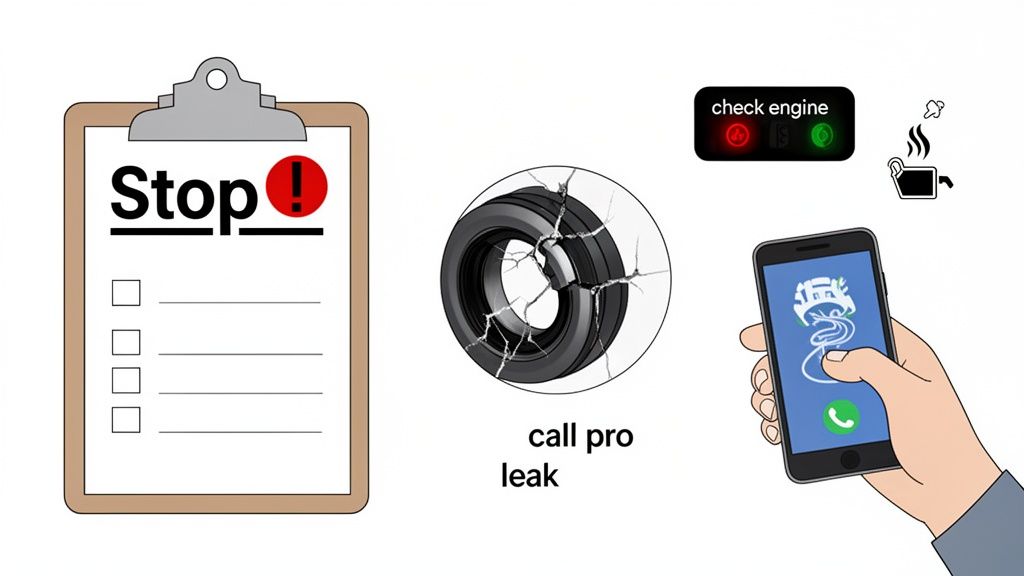
So, how do you know when a simple cleaning isn't the answer and you're in over your head? Certain symptoms are clear signals that it's time to step back and call in a professional. If you run into any of these red flags, stop what you're doing and get an expert opinion.
- A Stubborn Check Engine Light: If the check engine light is on and stays on after your cleaning attempt, the problem is likely more complex. That light points to a specific diagnostic trouble code that needs advanced tools to read and interpret correctly.
- A Strong Smell of Gas: If you catch a whiff of raw fuel inside or around your car, that’s a huge warning. It almost certainly means you have a fuel leak that needs to be fixed by a professional right away. Don’t even think about starting the engine.
- Visible Damage to the Injector: While you’re inspecting the injectors, look for any cracks in the plastic body. If you see one, it's game over for that part. A cracked injector can't be fixed by cleaning; it must be replaced.
Ignoring these signs can turn a fixable problem into a catastrophic failure. Sometimes, the issue isn't just a clog. It could be a bad fuel pressure regulator, a failing fuel pump, or a problem with another system entirely. A clogged fuel filter, for instance, can often show the same symptoms, and you can learn more about how a blocked filter mimics injector problems in our guide to the signs of a clogged fuel filter.
The Professional Advantage
Calling an ASE-certified technician isn't admitting defeat—it's a smart move to protect your car and your safety. Professionals have a level of precision and equipment that's just not practical for a home garage.
A professional service isn't just about cleaning. It’s about diagnostics, flow testing, and verification. They use specialized machines to measure each injector's flow rate and spray pattern before and after cleaning, ensuring all injectors are balanced and performing to factory specs.
As vehicles age, fouled injectors are becoming more common, often showing up after just 75,000 miles. While a $15 bottle of cleaner is a tempting first step, a professional service delivers a much more definitive and reliable result. With their commercial-grade equipment, technicians can often achieve a 12-18% boost in performance and efficiency—a result that DIY methods simply can't match.
DIY Cleaning vs. Professional Service
To help you make the final decision, here’s a head-to-head comparison between tackling the job yourself and handing the keys over to a certified pro.
| Factor | DIY Methods (Additives & Kits) | Professional Service |
|---|---|---|
| Cost | Low ($15 – $100) | Moderate to High ($150 – $500+) |
| Effectiveness | Good for maintenance & light clogs | Excellent for deep cleaning & restoration |
| Tools Required | Basic hand tools or none | Specialized diagnostic & cleaning gear |
| Risk | Moderate (fuel leaks, component damage) | Very Low (performed by trained experts) |
| Verification | None; based on "feel" after the job | Confirmed with flow testing & data |
| Time | 1-4 hours | Typically half a day at a shop |
Ultimately, choosing between a DIY cleaning and a professional service comes down to an honest look at your car's symptoms, your own skills, and the risks you're willing to take. For routine maintenance, a DIY approach is a great option. But for stubborn problems or any of the warning signs we covered, calling a pro is the wisest, safest, and most effective choice you can make.
So, you've tried a DIY fuel injector cleaning, but the problem's still there. Or maybe the job just feels a bit over your head. Deciding to hand the keys to a certified technician is a smart move.
But what exactly goes into a professional fuel system service? It’s a whole lot more than just pouring a powerful additive into your gas tank. It's a systematic process of diagnosis, deep cleaning, and making sure everything works perfectly afterward.
Unlike the guesswork that often comes with a DIY job, a professional service always kicks off with advanced diagnostics. A certified mechanic will hook up your car to a professional-grade scan tool. This pulls any specific trouble codes from the engine control unit (ECU).
This first step is crucial. It confirms that your rough idle, poor MPG, or hesitation is actually from a fuel delivery problem and not some other sneaky issue, like a bad sensor or an ignition fault.
The Multi-Step Cleaning Process
Once clogged injectors are pinpointed as the likely culprit, the real work begins. A technician will perform a multi-step cleaning process that goes way beyond just the injectors. Think of it as a complete system flush designed to clear out gunk from the entire fuel path—a huge advantage over what you can do at home.
The most common method uses a pressurized canister cleaning system. This might sound like the on-car kits you can buy yourself, but the professional gear is far more robust, and the cleaning solutions are way more concentrated and effective.
Here’s a general rundown of what they do:
- First, the shop will disable your vehicle’s own fuel pump and disconnect the fuel lines.
- Next, their cleaning rig is hooked up directly to your engine’s fuel rail.
- Finally, they start the engine, which runs only on the highly concentrated cleaning solution from the canister until it's empty.
This direct shot of cleaner doesn't just scour the injector tips. It also cleans the intake valves and combustion chambers, which are tough spots for any bottled additive to reach. If you want a deeper dive on how this cleans out the top end of your engine, you can learn more about what an induction service entails and its benefits.
A professional service isn't just about using stronger chemicals. It's a holistic approach that cleans the entire fuel system—from the tank lines to the combustion chamber—ensuring every part works together harmoniously.
Beyond Cleaning to Verification and Restoration
What really sets a professional service apart is what happens after the cleaning. For cars with injectors that are severely clogged or just not working right, a tech might recommend a more intensive "off-car" service. This means the injectors are physically taken out of the engine.
Once they're out, they go into a specialized machine for a two-part process:
- Ultrasonic Cleaning: The injectors are submerged in a cleaning bath and hit with high-frequency ultrasonic waves. This is like a sonic deep clean that blasts away stubborn carbon deposits from inside and out, without damaging the delicate parts.
- Flow Testing: After the bath, the injectors are put on a flow bench. This high-tech machine measures each injector's exact flow rate and analyzes its spray pattern. The results are then compared to factory specs.
This is the only way to verify the cleaning worked and to ensure all your injectors are balanced—delivering the exact same amount of fuel. If an injector still doesn't meet the specs after cleaning, the tech will know it needs to be replaced.
You simply can’t get this level of verification with any DIY fuel injector cleaning method. It's the only way to guarantee restored performance and get that smooth idle, sharp throttle response, and peace of mind that comes from a job done right.
Common Questions About Fuel Injector Cleaning
Even with a solid plan for your DIY fuel injector cleaning, it's normal for a few questions to pop up. Getting straight answers is the key to feeling confident and making the right call for your car's health. Let's tackle some of the most common questions we hear from drivers.
How Often Should I Really Clean My Fuel Injectors?
The answer really depends on whether you're talking about maintenance or a real cleaning. For routine preventative care, pouring a high-quality fuel additive into your tank every 3,000-5,000 miles—or just every time you get an oil change—is a fantastic habit. Think of it as stopping gunk from building up in the first place.
However, if you're already noticing symptoms like a rough idle or your fuel economy is taking a nosedive, you’re probably overdue for a more intensive cleaning. As a general rule, most mechanics suggest a professional fuel system service every 60,000 to 90,000 miles. Of course, always check your vehicle’s service manual for the final word.
Can Fuel Injector Cleaner Damage My Engine?
When you use them as directed, cleaners from reputable brands are completely safe for your engine. They're specifically formulated to be compatible with all the important bits—engine components, O2 sensors, and the catalytic converter—and burn away cleanly with the fuel.
The real danger comes from going off-script. Using too much cleaner, adding it more often than recommended, or trying to use harsh, unapproved solvents in an off-car cleaning can absolutely wreck sensitive rubber O-rings and plastic seals. Just stick to the instructions on the bottle, and you'll avoid causing more harm than good.
Key Insight: The problem is never the cleaner itself, but how it’s used. Stick to the recommended dosage and intervals, and you'll be fine. It’s when you start thinking "more is better" that you can run into real trouble.
Will a Cleaning Turn Off My Check Engine Light?
It's possible, but it’s a big "if." A cleaning will only switch off the check engine light if the problem was a fuel-related trouble code in the first place. This could be something like an engine misfire (codes in the P0300-P0308 series) or a system-too-lean condition (code P0171).
But that light can signal hundreds of different issues, and most have nothing to do with dirty injectors. Instead of guessing, the smartest move is to get the code scanned, either by a professional or with your own OBD2 scanner. That will pinpoint the exact problem so you know you're applying the right fix.
Is More Expensive Fuel Injector Cleaner Better?
Not always, but the price often gives you a clue about the concentration of the key cleaning agents. The undisputed gold standard ingredient you should look for is Polyetheramine (PEA). Cheaper cleaners often use weaker detergents that just can't cut through tough, baked-on carbon deposits.
Keep in mind, carbon isn't the only culprit. Other contaminants, like what you find in bad diesel, can also clog things up, sometimes requiring a specific diesel fuel algae treatment for those engines.
Instead of just grabbing the most expensive bottle, look for a mid-priced, PEA-based cleaner from a brand you trust. Using a good product consistently is far more effective than using a cheap one every once in a while.
Still have questions, or feel like your car's fuel system issues are beyond a simple DIY fix? The ASE-certified technicians at Kwik Kar Oil Change and Auto Care are here to help. We use advanced diagnostics to pinpoint the exact problem and provide professional service to restore your vehicle's performance and efficiency. Schedule your appointment online today!