Emissions Test Preparation Guide: Pass It the First Time
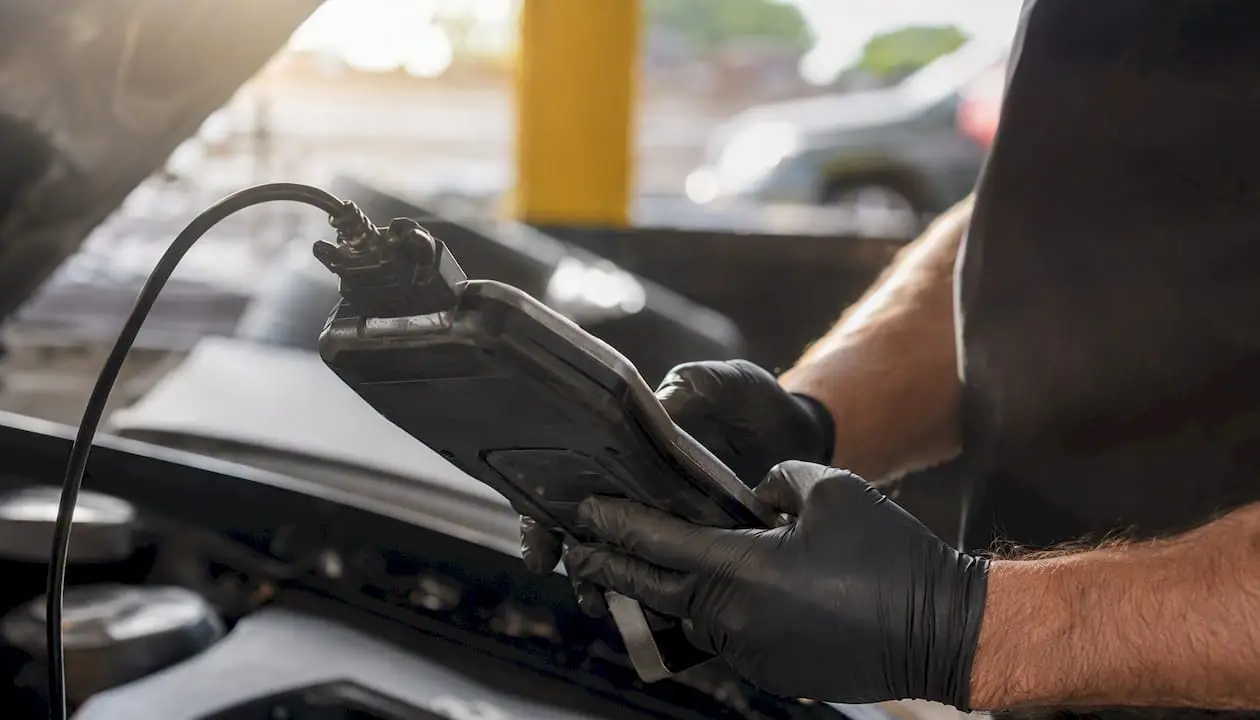
Follow this checklist in the 24 to 72 hours before your appointment and you’ll walk into most testing stations with a real shot at a first-try pass: confirm the check engine light is off, verify your OBD-II readiness monitors read “ready,” drive at least 20 minutes on the highway to warm the catalytic converter, keep your gas tank between a quarter and three-quarters full, check that the gas cap tightens properly, and make sure your tires are at the correct pressure with no obvious exhaust leaks.
That short list solves the vast majority of first-attempt failures. The rest of this guide walks through why each item matters, how to verify it yourself, and what to do if something’s already wrong.
- Confirm the check engine light is off before you leave the driveway.
- Scan for OBD-II readiness monitor status; if monitors read “not ready,” you need more drive time first.
- Drive 20+ minutes on the highway immediately before testing to bring the catalytic converter up to operating temperature.
- Keep the fuel tank between roughly a quarter and three-quarters full (some states prefer at least half).
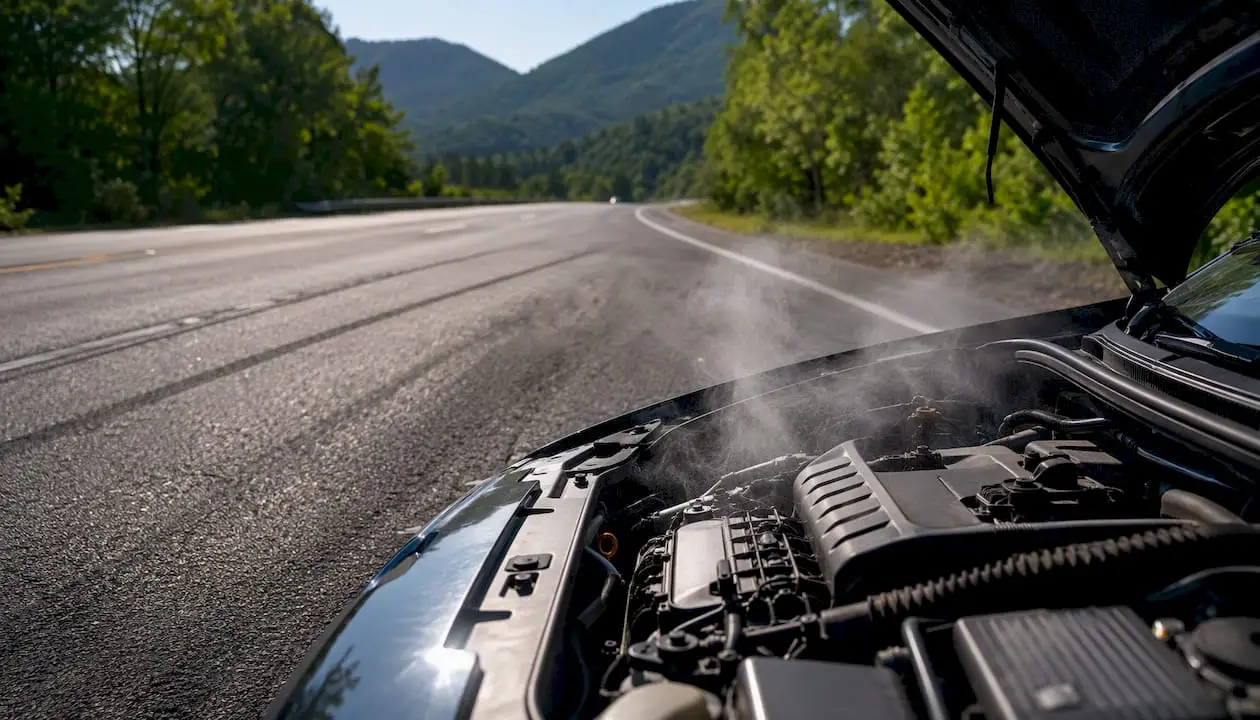
- Tighten or replace the gas cap if it’s cracked, loose, or missing its seal.
- Top off tire pressure to the door-jamb spec and glance underneath for anything that looks like a fresh exhaust leak.
Pro Tip: A basic OBD-II scanner runs $20 to $30 at most retailers, and you can read your own readiness monitors in under two minutes. Many auto parts stores will also run a free scan at the counter if you don’t want to buy a tool you’ll rarely use again.
Key Takeaways
Passing an emissions test on the first attempt comes down to three things: a code-free readiness status, a warmed-up engine, and a properly sealed fuel system.
| Point | Details |
|---|---|
| Check engine light off | An illuminated light causes an automatic fail regardless of other readings. |
| Readiness monitors ready | Verify with a scanner; incomplete monitors force a delay or rejection in many states. |
| Warm-up drive matters | Twenty minutes of steady highway driving before testing heats the catalytic converter for a cleaner reading. |
| Gas cap and fuel level | A tight gas cap and a tank roughly a quarter to three-quarters full prevent EVAP-related failures. |
| Unsure where you stand | Kwik Kar Oil Change & Auto Care offers OBD readiness checks and diagnostic scans before you head to the testing station. |
Table of Contents
- Common Reasons Vehicles Fail an Emissions Test
- Understanding OBD-II Readiness Monitors and Drive Cycles
- Simple Maintenance That Cuts Your Fail Risk
- When a Problem Needs a Professional Diagnosis
- What to Bring and Do at the Testing Station
- What Happens After a Failed Emissions Test
- How an ASE-Certified Shop Preps Your Car for Testing
- A Practical Timeline for Getting It Right
- Get Your Car Test Ready Before You Drive to the Station
- Where to Verify State-Specific Rules
- Sources
- FAQ
Common Reasons Vehicles Fail an Emissions Test
Most rejected tests trace back to a short, predictable list of problems, not some obscure engine mystery. If you’re building an emissions testing checklist, start by ruling these out first.
- An illuminated check engine light or pending diagnostic trouble codes.
- Incomplete OBD-II readiness monitors, often from a recent battery disconnect or a scan tool that cleared codes.
- EVAP system leaks, usually traced to a loose, cracked, or missing gas cap.
- Failed oxygen sensors or codes pointing to catalytic converter inefficiency.
- Exhaust leaks upstream of the tailpipe sensor.
- A dirty air filter, old oil, or fouled spark plugs dragging down combustion efficiency.
- Tire pressure far outside spec, which can throw off dynamometer-based tailpipe tests.
A loose or damaged gas cap remains one of the single most common causes of an EVAP-related failure, and it’s also one of the cheapest fixes on this entire list, often under $25. Readiness monitor problems and an active check engine light are the two issues that most reliably send a car home without even completing the test, because most state programs won’t run a full inspection on a car that isn’t reporting properly.
States don’t all handle “not ready” results the same way. Some allow one incomplete monitor on many 2001 and newer gasoline vehicles before rejecting the car outright, while others require every monitor to report ready before the test even proceeds. A handful of jurisdictions return a separate “incomplete” result instead of a straight pass or fail, which still means you’re driving home and coming back. Check your state’s vehicle inspection checklist before you assume your car qualifies for any leniency.
Understanding OBD-II Readiness Monitors and Drive Cycles
Before anything else, confirm your readiness monitors show “ready.” If they don’t, you’re looking at a drive cycle or several days of normal mixed driving before the car is even eligible to test.
Readiness monitors are self-tests your vehicle’s computer runs continuously in the background, checking systems like the catalytic converter, oxygen sensors, EVAP system, EGR valve, misfire detection, and fuel system. They exist so inspectors don’t have to trust a dashboard that might be lying to them. The problem is that these monitors reset to “not ready” any time the battery is disconnected, a scan tool clears codes, or the computer loses power for another reason, and too many incomplete monitors will get your test rejected before it starts.
Getting monitors back to “ready” isn’t complicated, but it does take real driving time, not five minutes around the block. A generic drive cycle that works for most vehicles looks something like this:
- Start the engine cold and let it idle for a couple of minutes without touching the accelerator.
- Drive in stop-and-go city conditions for 10 to 15 minutes, including a few full stops.
- Merge onto the highway and hold a steady speed (55 to 65 mph) for at least 10 minutes.
- Ease off the accelerator and let the car coast down in speed a few times without braking.
- Repeat a mix of city and highway driving over the following days.
Colorado’s public health department notes that a few days of ordinary city and highway driving is usually enough to set the required monitors, and most repair shops can verify status for you in minutes with the right scan tool. For many vehicles, plan on somewhere between 50 and 200 miles of mixed driving over several days to clear every monitor, with the catalyst monitor often being the last one to finish. If you recently swapped a battery, cleared a code, or had major repair work done, budget extra time. A tool like the one at Tuningbot’s OBD readiness guide breaks down which specific monitors correspond to which systems, useful if you want to understand exactly what your car is still checking.
Pro Tip: If you don’t own a scanner and don’t want to buy one, ask your shop to check readiness status during any other visit in the week before your test. It takes them almost no time and saves you a wasted trip to the testing station.
Not every state treats incomplete monitors the same way. Some allow one “not ready” monitor on many vehicles; others require a completely clean slate. Verify your local rule rather than assuming the drive cycle rumor you heard from a coworker applies to your car.
Simple Maintenance That Cuts Your Fail Risk
Start on these items at least a few days before your appointment, not the morning of. Rushed maintenance the night before a test often doesn’t give the engine computer time to relearn anything or complete a drive cycle afterward.
- Check and replace the air filter if it’s visibly dirty or overdue.
- Change the oil if it’s near or past its interval, ideally one to two weeks out.
- Inspect spark plugs and plug wires for wear, especially on vehicles past 60,000 miles.
- Look for exhaust leaks at the manifold, joints, and muffler.
- Verify tire pressure matches the spec on the driver’s door jamb.
- Run a fuel-system cleaner through one tank before the test to help clear light carbon buildup.
- Confirm the gas cap seals fully and clicks tight, since a bad seal is a frequent EVAP failure culprit.
Here’s how to sequence it:
- Seven or more days out: handle anything major, oil changes, spark plugs, air filter, and any repair that requires parts on order.
- Three to seven days out: put miles on the car to complete drive cycles and run that fuel-system cleaner through a tank.
- 24 to 72 hours out: double-check tire pressure, gas cap, and confirm no new warning lights have appeared.
- Immediately before: drive 20 minutes on the highway to bring everything up to full operating temperature.
Pro Tip: Change your oil one to two weeks before the test instead of the day before. Fresh oil is good, but you also want time for the car to log normal drive cycles afterward, not walk into the station a few hours after a service reset something.
Routine upkeep like this pulls double duty. It’s the same routine maintenance that keeps your car reliable year round, and it happens to be exactly what a testing station is checking for indirectly.
When a Problem Needs a Professional Diagnosis
If you’re staring at a persistent trouble code, feeling an active misfire, or suspecting the catalytic converter itself, stop guessing and get a professional scan. Some issues genuinely need a diagnostic tool and trained eyes, not another YouTube video.
- Persistent diagnostic trouble codes in the P0xxx or P01xx range that won’t clear.
- Oxygen sensor codes, which usually mean the sensor needs replacement rather than a reset.
- Suspected catalytic converter inefficiency, since converters are expensive and you want confirmation before replacing one.
- EVAP leaks that persist even after you’ve already replaced the gas cap.
- Complex EGR or particulate filter issues on diesel vehicles, which involve backpressure and calibration questions well beyond a driveway fix.
- Mass airflow sensor faults, which can mimic several other problems and are easy to misdiagnose without a scan tool.
A proper pre-test inspection at a qualified shop typically includes a full OBD scan, a readiness-monitor check, a smoke test to pinpoint EVAP leaks, a visual exhaust inspection, and a basic tune-up if needed. ASE-certified technicians carry the training and diagnostic equipment to catch issues a home scanner will only flag as a vague code number.
Active misfires are worth fixing before anything else, because a misfire in progress suspends other self-tests and prevents monitors like the catalytic converter check from ever completing. Chasing a “not ready” result without fixing the misfire first just wastes another week of driving.
Diagnostic fees at most shops run in the range of a standard labor-hour charge, and many shops apply that fee toward the repair cost if you move forward with the work, so it’s rarely money thrown away.
What to Bring and Do at the Testing Station
Bring your registration or ID, your keys, and the test fee, and arrive right after a warm highway drive with a vehicle that’s actually driveable in and out of the lane. Sounds obvious, but administrative rejections happen more than you’d think.
- Vehicle registration or another form of ID the station requires.
- Proof of insurance, if your state or station asks for it.
- The test fee in whatever payment form the station accepts.
- The original Vehicle Inspection Report if you’re returning for a retest.
- Any repair receipts if you’re proving work was done ahead of a retest.
On the vehicle side:
- Turn off the air conditioning before you pull in.
- Remove any trailer, roof rack, or roof-top cargo box.
- Roll up the windows.
- Drive at least 20 minutes on steady highway conditions immediately before arrival to keep the catalytic converter warm.
- If there’s a long line, leave the engine running rather than shutting off and restarting repeatedly.
Some states have their own quirks worth checking ahead of time. Arizona’s program, for instance, recommends testing no sooner than 90 days before your registration expires and getting it done before you visit an MVD office, which saves a return trip if something needs fixing. Fuel level guidance also varies. Some states are comfortable anywhere from a quarter to three-quarters full, while others specifically want at least half a tank of fresh fuel. If you live in Texas, the state inspection guide for Richardson drivers covers the local specifics.
What Happens After a Failed Emissions Test
Get the official failure report first, then have a diagnostic scan run before you start throwing parts at the problem. Chasing symptoms without a scan wastes money and doesn’t guarantee a fix.
- Collect your failure report; it lists exactly which system or test failed.
- Get a full diagnostic scan to identify the actual codes involved.
- Prioritize repairs in this order: misfires first, then sensor faults, then EVAP leaks, then catalyst-related issues last, since fixing upstream problems often resolves downstream codes automatically.
- Ask whether your state requires an Emissions Repair Form documenting the work.
- Confirm your retest window and whether it’s free.
Typical repair costs for the most common failures run roughly like this: a new gas cap costs $10 to $25, an oxygen sensor replacement runs $100 to $300 depending on the vehicle, an exhaust gasket repair falls between $50 and $200, and catalytic converter replacement runs considerably higher given the part cost alone. If you’re in this situation, how to pass a Richardson retest walks through the local process in more detail.
Most state programs also build in a safety net for exactly this scenario. Georgia’s Clean Air Force program, for example, documents a free retest window at the original inspection station, and many states offer repair-waiver programs once you’ve spent above a certain cost threshold trying to fix the problem. Worth noting: waiver credit generally only applies to work done at state-certified repair facilities, not driveway repairs, so keep those receipts from a licensed shop if you’re anywhere near that threshold.
How an ASE-Certified Shop Preps Your Car for Testing
If you’d rather hand the whole checklist to someone else, Kwik Kar Oil Change & Auto Care runs pre-test OBD readiness checks, full diagnostic scans, and the quick repairs that cause most first-attempt failures, all in one visit.
- A complete OBD-II scan and readiness-monitor verification, so you know before you drive to the testing station whether you’ll pass.
- A basic tune-up covering air filter, spark plugs, and fluid levels if any are overdue.
- Gas cap inspection and replacement on the spot if the seal has failed.
- A visual exhaust inspection to catch leaks before they show up as a tailpipe failure.
- A pre-test warm-up drive where local rules allow it.
- Documentation you can bring to a retest if repairs were needed.
Pro Tip: Ask specifically for a “readiness check” when you book, not just a general inspection. It’s a five-minute scan that tells you exactly where your monitors stand before you commit to a testing station appointment.
Kwik Kar Oil Change & Auto Care technicians are ASE-certified and the shop carries recognition from both CARFAX and RepairPal, the kind of third-party validation that matters when you’re trusting someone with a diagnostic call. Transparent pricing and warranty coverage on repairs mean you’re not left guessing what a fix will cost before you agree to it. You can see the certifications behind that reputation directly, and book a full diagnostic or repair appointment whenever you’re ready.
| Point | Details |
|---|---|
| Readiness checks first | An OBD scan before your appointment tells you if monitors are ready, avoiding a wasted trip. |
| ASE-certified diagnostics | Kwik Kar Oil Change & Auto Care technicians carry ASE certification and shop-grade scan tools for accurate fault-finding. |
| Fast, low-cost fixes | Gas cap replacement and basic tune-ups resolve a large share of common failures in a single visit. |
A Practical Timeline for Getting It Right
Prioritize readiness verification and code-free driving over anything cosmetic, and whatever you do, don’t clear codes the day before your test just to make the check engine light disappear. That trick almost always backfires, because it resets your readiness monitors right back to “not ready” and you’ll fail on that basis instead.
The smartest approach breaks into three windows:
- Seven or more days out: handle real repairs, replace worn parts, and change the oil if it’s overdue.
- Three to seven days out: put on the drive-cycle miles and run a tank of fuel-system cleaner through the engine.
- 24 to 72 hours out: do your final walk-around, check tire pressure and the gas cap, and take that warm highway drive right before you go.
The single biggest misjudgment we see is people treating the check engine light like the only thing that matters. It’s an important signal, but it’s really just a proxy for the readiness monitors underneath it, and a car can have the light off while still reporting several monitors as incomplete. Fix misfires and sensor faults before anything cosmetic, and hand off anything requiring a diagnostic tool to a shop rather than guessing with a $20 code reader that only tells you half the story.
Get Your Car Test Ready Before You Drive to the Station
A DIY scan tool tells you a code number. It won’t tell you whether that number means a $15 gas cap or a $300 sensor, and it definitely won’t fix an active misfire for you. Kwik Kar Oil Change & Auto Care in Richardson runs the full pre-test package, OBD readiness verification, a diagnostic scan, gas cap and visual exhaust checks, and the quick repairs that resolve most first-attempt failures, in a single appointment instead of three separate guesses.
Pricing stays transparent before any work starts, repairs come with warranty coverage, and the shop’s ASE-certified technicians handle the diagnostic side that a home scanner simply can’t. If you’re on a fleet account or drive for work, ask about scheduling multiple vehicles together to save trips. Book a pre-test inspection through the Kwik Kar Richardson services page and find out exactly where your car stands before you’re sitting in a testing line wondering if today’s the day it fails.
Where to Verify State-Specific Rules
Local rules vary enough on allowed incomplete monitors, retest windows, and fuel guidance that it’s worth a quick check before you assume your state matches everything above.
- Your state DMV or Department of Environmental Quality emissions testing page, which lists exact program rules and fees.
- State-specific OBD readiness factsheets, which detail which monitors are required and how many incomplete ones are allowed by model year.
- Your state’s repair-waiver program page, if you’re approaching a cost threshold after a failed test.
- A state vehicle inspection checklist for a broader rundown beyond emissions alone.
Confirm the exact allowed “not ready” monitor count and retest timeline with your own state’s program page rather than relying on a national average, since these details genuinely shift from state to state.
Sources
- What do you mean — my car’s not ready?
- Make sure your vehicle is READY for an OBD inspection | Colorado Department of Public Health and Environment
- If You Need Emissions Testing – Arizona DOT MVD
- How to Pass an Emissions Test – Readiness Monitors, Drive Cycles, and Tips | Car Code Finder
- After You Test — Georgia’s Clean Air Force
FAQ
What should I do before an emissions test?
Warm the engine with a 20-minute highway drive, confirm the check engine light is off, verify OBD-II readiness monitors read “ready,” and check that your gas cap seals tightly with a fuel level between roughly a quarter and three-quarters full.
What can I put in my gas tank to help pass emissions?
A fuel-system cleaner run through one tank in the days before testing can help clear light carbon buildup, though it won’t fix an active mechanical fault like a bad oxygen sensor or a failing catalytic converter.
Should I warm up my car before an emissions test?
Yes. Driving at least 20 minutes on the highway right before your appointment brings the catalytic converter up to operating temperature, which produces cleaner tailpipe readings than a car tested cold.
What will fail your emissions test?
The most common causes are an illuminated check engine light, incomplete OBD-II readiness monitors, EVAP leaks from a bad gas cap, faulty oxygen sensors, and exhaust leaks, all of which a shop like Kwik Kar Oil Change & Auto Care can check and fix before you test.
How long does it take to get readiness monitors ready again?
Most vehicles need somewhere between 50 and 200 miles of mixed city and highway driving spread across several days, though the exact time depends on your car and which monitors were reset.