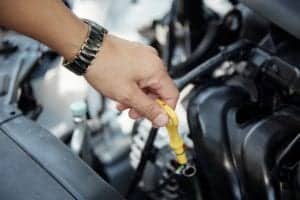
When your car's AC decides to quit on a sweltering day, your first move shouldn't be to grab a can of refrigerant. The real first step in fixing your car's AC happens right in your driveway, and it starts with a little detective work.
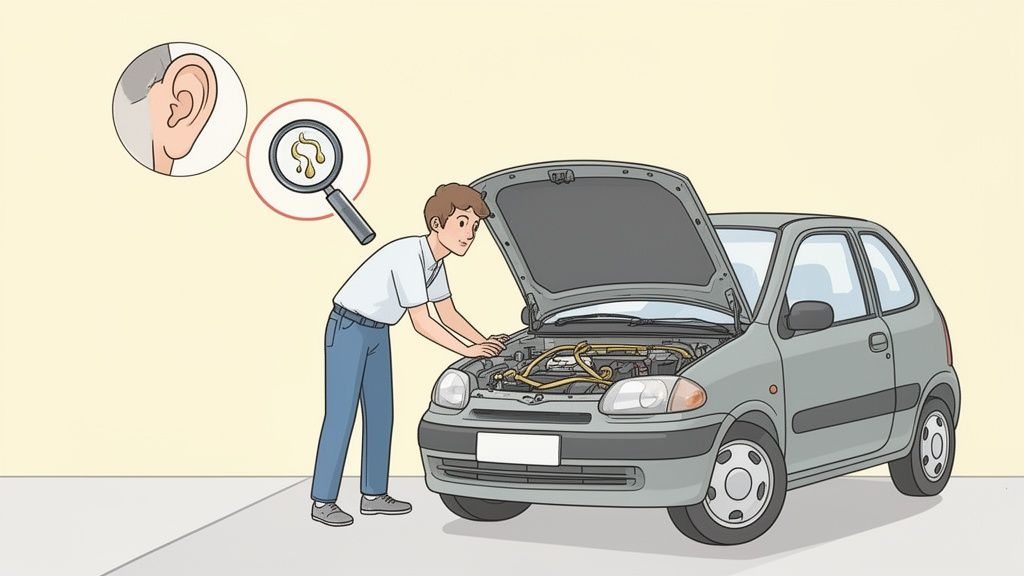
A few simple checks, like listening for a click when you turn on the AC or looking for oily residue on the system's lines, can often point you straight to the source of the problem.
Your First Steps in Car AC Diagnosis
Before you can fix anything, you have to figure out what's broken. The symptoms your car is showing are the best clues you have. A lot of people jump the gun and assume the system just needs more refrigerant. That's a classic mistake that can lead to overcharging the system, which can cause even more damage.
Instead, slow down and use your senses. A careful visual and auditory inspection is often all it takes to narrow down the culprits. This initial check-up helps you figure out if you’re looking at a simple DIY fix or something more complex that needs a professional’s touch.
Interpreting the Sounds and Sights
Your ears are your first diagnostic tool. Start the car, crank the AC to its highest setting, and listen. Do you hear a sharp click coming from the engine bay a moment later? That’s the AC compressor clutch engaging, and it’s a good sign. If you hear nothing but silence, you might be dealing with an electrical issue like a blown fuse or a bad relay.
On the flip side, loud or strange noises are definite red flags. A high-pitched squeal often means you've got a worn or slipping serpentine belt. A grinding or rattling sound could signal that the compressor itself is on its last legs. These are problems that need to be addressed right away.
Next, turn the engine off and pop the hood for a visual inspection. Here's what to look for:
- Oily Residue: The refrigerant in your AC system is mixed with a special lubricant. If you see a greasy, oily film on any of the AC hoses, fittings, or components, you've found a leak.
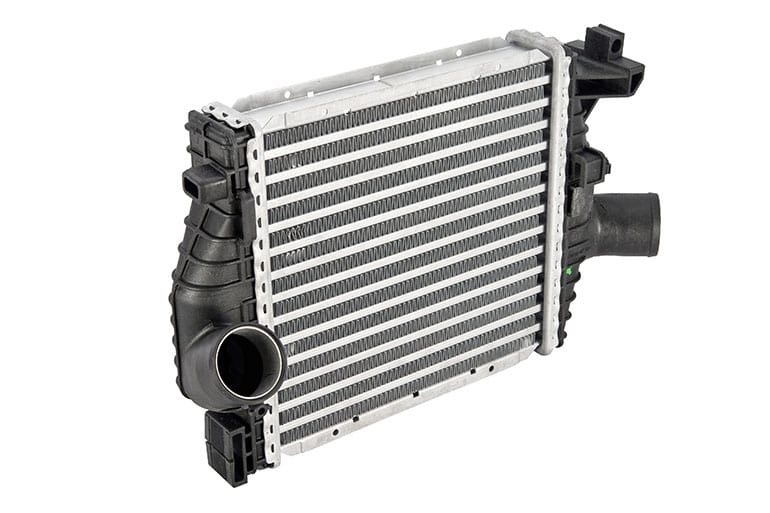
- Obvious Damage: Look for cracks in hoses, bent or damaged cooling fins on the condenser (it looks like a small radiator at the front of the car), or any loose-looking electrical connectors.
- Blocked Condenser: Leaves, bugs, dirt, and road grime can clog the condenser, which prevents it from releasing heat. If it can't release heat, your AC can't get cold.
A common mistake is overlooking the simple things. We once had a customer whose AC wasn't cooling simply because a plastic bag had been sucked up against the front of the car, completely blocking airflow to the condenser.
To help you connect the dots, here’s a quick checklist that links common symptoms to their likely causes.
Car AC Problem Diagnostic Checklist
| Symptom | Potential Cause | What to Check First |
|---|---|---|
| AC blows warm air | Low refrigerant, compressor not engaging, blend door issue | Check for oily residue (leaks), listen for compressor click |
| Weak airflow | Clogged cabin air filter, failing blower motor | Inspect and replace the cabin air filter |
| AC works, then stops | System freezing up (low refrigerant), electrical issue | Check for ice on AC lines, inspect fuses and relays |
| Loud squealing noise | Worn serpentine belt | Visually inspect the belt for cracks and proper tension |
| Grinding or rattling | Failing compressor clutch or internal compressor damage | Turn off AC immediately and seek professional diagnosis |
| Musty smell | Mold or mildew in the evaporator core | Replace cabin air filter, consider an evaporator cleaning service |
This table is a great starting point, but remember that AC systems can be tricky.
Pinpointing the Root Cause
At Kwik Kar Oil Change and Auto Care, our ASE-certified techs use advanced diagnostic tools to go beyond the basics. For instance, low refrigerant levels account for roughly 40-50% of AC complaints we see, a trend consistent across the industry.
We’ve seen plenty of high-mileage vehicles where seals and O-rings simply degrade after 100,000 miles, causing slow leaks that can drop cooling efficiency by up to 20%. Understanding these common failure points helps a professional quickly diagnose an issue that might leave a DIYer scratching their head. You can discover more insights about the automotive air conditioning market and its trends to see why professional experience matters.
The Essential Toolkit for DIY AC Repair
Before you even think about cracking open your car's AC system, let’s be clear: you're dealing with a highly pressurized system. Trying to fix it without the right equipment isn't just a bad idea—it's downright dangerous. Having the correct tools and safety gear isn't optional; it's what separates a manageable DIY job from a trip to the emergency room.
Think of this as your pre-flight checklist. To even peek at your system, let alone recharge it, you'll need a few key items. The single most important tool is an AC manifold gauge set. This lets you read the pressure on both the high and low sides of the system, which is the only way to accurately diagnose what's going on. Without it, you’re just flying blind.
Core Tools and Safety Essentials
For a basic top-off, you'll also need a can of the correct refrigerant for your vehicle. Most cars made before 2015 use R-134a, while newer models use R-1234yf. You can usually find a recharge kit that includes a charging hose with a built-in gauge. While not as precise as a full manifold set, it’s good enough for a simple top-off.
But the tools are only half the battle. Your safety gear is just as critical.
- Safety Goggles: Refrigerant can cause serious, permanent eye damage if it sprays into your face. It's incredibly cold. Don't take the risk.
- Mechanic's Gloves: These protect your hands from nasty refrigerant burns and the hot engine components you'll be working around.
These basics will get you started. If you're curious about what the professionals use to tackle more complex jobs, it's worth checking out this guide on the essential equipment every auto repair shop should have.
Always, always double-check your vehicle's manual or the sticker under the hood for the correct refrigerant type. Pouring the wrong one into your system can cause catastrophic damage, leading to a repair bill that makes a professional service call look like a bargain.
Non-Negotiable Safety Rules
Beyond having the right tools, a few safety rules are absolutely non-negotiable. First, never work on a hot engine. Let the car cool down completely to avoid serious burns. Second, you absolutely must know the difference between the low-pressure and high-pressure service ports.
The recharge hose only connects to the low-pressure port, which usually has a smaller cap marked with an "L." If you connect it to the high-pressure side, the refrigerant can could explode, causing severe injury. It’s a rookie mistake, but a devastating one.
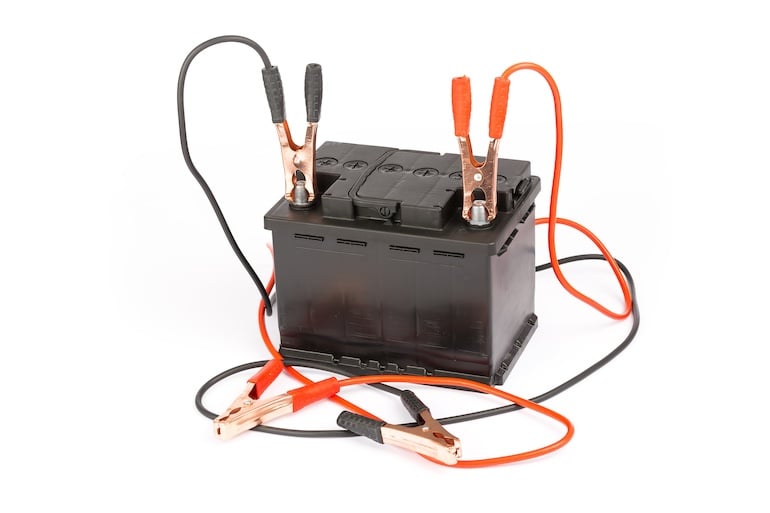
Your toolkit should also have a reliable multimeter. It’s essential for checking electrical parts like fuses and relays, which can often be the real culprit behind an AC failure. If you're not familiar with using one, our guide on how to test a car battery with a multimeter is a great place to start. Being prepared with the right gear and knowledge makes all the difference.
How to Recharge Your Car AC System Correctly
If your initial checks point to low refrigerant, a DIY recharge is often the most direct path to getting that cold air back. It can sound a little intimidating, but with the right approach and some patience, it's a job most car owners can tackle themselves. This isn't just about dumping in more refrigerant; it’s about doing it safely and accurately to avoid creating bigger, more expensive problems.
The absolute key to a successful recharge is precision. You’re trying to restore the system's pressure to what the manufacturer recommends, not just empty a can into it. Overcharging is a really common mistake, and it can wreck expensive parts like the compressor.
Finding and Connecting to the Low-Pressure Port
First things first, you have to find the right service port. Your car’s AC has two of them: a high-pressure port and a low-pressure port. For any DIY recharge kit, you will only ever connect to the low-pressure port.
You'll usually find it on the larger-diameter aluminum AC line running between the firewall and the compressor. Look for a black or blue cap, often marked with a tell-tale “L”.
Connecting to the high-pressure side is incredibly dangerous and can literally cause the refrigerant can to explode. Always, always double-check that you’ve got the right one.
A pro tip from the field: Before you even attach the hose, start the car and crank the AC to the highest fan speed and coldest setting. This gets the compressor clutch engaged and the refrigerant moving, which you need for an accurate pressure reading.
Once you’ve found the correct port, pop the cap off and securely attach the recharge hose. You’ll probably hear a quick hiss as it connects—that’s completely normal. Just make sure the coupler clicks firmly into place to get a good, tight seal.
This visual guide simplifies the core steps involved in an AC repair, focusing on safety, measurement, and the recharge itself.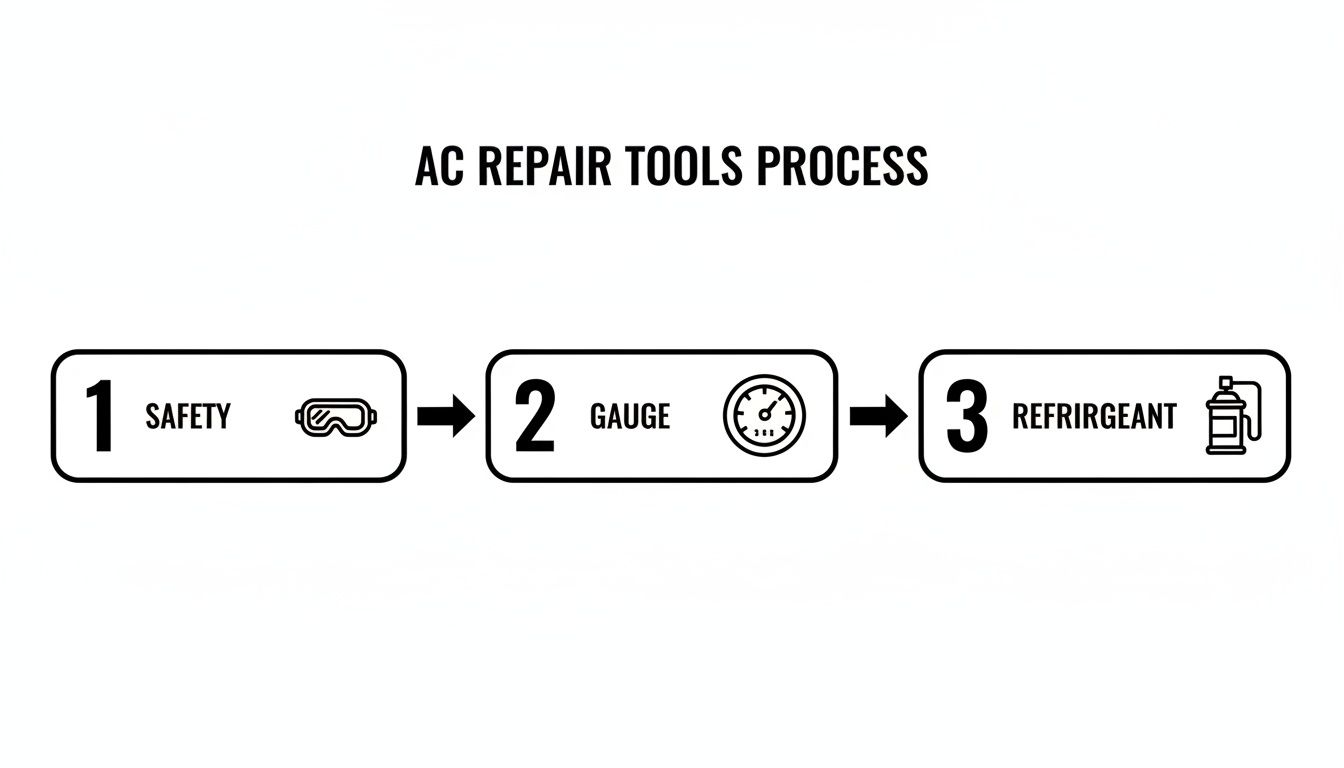
The flow highlights that proper diagnosis with gauges precedes adding any refrigerant, a crucial step many DIYers skip.
Adding Refrigerant and Reading the Gauge
With the engine running and the hose connected, you're ready to start adding refrigerant. The trick here is to go slow—add it in short bursts, not all at once.
- Hold the can upright and squeeze the trigger for 5-10 seconds.
- Let go of the trigger and wait about 30 seconds for the system's pressure to level out.
- Check the reading on the gauge.
Keep repeating this process, watching the gauge like a hawk. The gauge on your recharge kit will be color-coded, but the perfect pressure range also changes with the ambient air temperature. Most kits have a chart right on the can to help you figure out the correct pressure for that day’s weather. Your goal is to get the needle into the "green" or "filled" zone without letting it sneak into the red "overcharged" area.
Remember, the reason you’re low on refrigerant in the first place is almost always a slow leak. For instance, tiny leaks from failing O-rings are a common culprit, accounting for 35% of cases after a car is 5-7 years old, according to industry data. The good news is these can often be fixed for under $200 if you catch them early.
At Kwik Kar Oil Change and Auto Care, our RepairPal-certified technicians use advanced diagnostic tools to pinpoint these exact leaks, preventing what could become a $1,000+ overhaul. You can discover more insights about the automotive air conditioning market to understand these trends better.
What Are Those Strange AC Noises and Smells?
When your AC starts acting up, it rarely dies a quiet death. More often than not, it’ll give you a heads-up with a symphony of strange sounds or a funky smell wafting from the vents. Learning to read these clues is half the battle in figuring out how to fix your car's AC without making a beeline for the repair shop.
Think of these noises and odors as direct messages from your AC system. They’re telling you exactly what’s wrong, and if you listen closely, you can often pinpoint the problem and figure out your next move.
Decoding Common AC Noises
Different sounds usually point to very specific mechanical problems. A little careful listening can save you a ton of guesswork down the road. For instance, if you hear a high-pitched squeal that gets louder as you rev the engine, that’s a classic sign of a belt issue.
- High-Pitched Squeal: This almost always points to the serpentine belt. It might be old and cracked, glazed over from wear, or just plain loose. A quick visual inspection for fraying and a check of the tension will usually tell you what you need to know.
- Rattling or Grinding: This is where things can get a bit more serious. A rattling noise, especially right when you kick on the AC, could be a failing compressor clutch. If it’s more of a constant, angry grinding sound, the entire compressor might be on its way out—and that's a much bigger repair.
- Clicking or Ticking: A fast clicking or ticking could be as simple as a leaf or some other debris hitting the condenser fan blades. It’s also perfectly normal to hear a single, solid click every so often as the compressor clutch engages and disengages.
A huge mistake people make is ignoring a new noise, hoping it just goes away. That rattling compressor clutch? If you catch it early, you might just have to replace the clutch itself. Let it go, and it can take out the whole compressor, turning a manageable repair into a major expense.
Tackling Unpleasant AC Odors
If the problem is a foul smell, the culprit is almost always something biological growing in the system. That musty, gym-sock odor that smacks you in the face when you first turn on the AC? That's the unmistakable sign of mold and mildew.
This nasty stuff loves to grow on the evaporator core, which is buried deep inside your dashboard. It’s dark, it’s damp, and it’s the perfect breeding ground for bacteria.
The first, and easiest, thing to try is replacing your cabin air filter. This filter is meant to trap dust, pollen, and other gunk before it gets into your car. But when it gets clogged and damp, it becomes a source of that musty smell itself. A clogged filter will also choke off your airflow.
On most cars, changing the cabin air filter is a simple DIY job that usually doesn’t require any special tools. It's often located right behind the glove box. Swapping in a fresh one can make a massive difference in both air quality and flow. If that doesn't fix the smell, you might need a professional evaporator cleaning to kill the mold at its source.
Fixing Weak Airflow and Electrical Faults

So your AC is making cold air, but you can barely feel a trickle coming from the vents. What gives? When this happens, you can usually stop worrying about refrigerant levels. Instead, it’s time to shift your focus to the components that actually push the air around and the electrical system that powers them.
Good news: this is often an easier area to troubleshoot yourself. More often than not, the culprit is a simple, inexpensive part.
The first—and most common—suspect for weak airflow is a clogged cabin air filter. Over time, this filter gets absolutely packed with dust, leaves, and road grime, which physically blocks air from getting through. Before you dive into anything more complex, checking this filter is always the best place to start.
Diagnosing the Blower System
If a fresh cabin air filter doesn’t solve the problem, the next components to look at are the blower motor and its sidekick, the resistor. The blower motor is just a fancy name for the fan that forces air through all those vents, and like any motor, it can wear out.
A classic sign of a failing blower motor resistor is when the fan only works on the highest setting. The resistor is what gives you different fan speeds; when it burns out, power can often only get to the motor on the "high" setting, which bypasses the resistor entirely. It’s a tell-tale symptom that points you directly to the faulty part.
If the fan doesn't work on any speed, the issue could be the motor itself or a simple electrical problem, like a blown fuse.
Pro Tip: Don't overlook the obvious. Before you start pulling your dashboard apart, check the simple things. A blown fuse is a $2 fix that can save you hours of diagnostic headaches. Your owner's manual will show you exactly where to find the fuse box and which fuse powers the AC blower.
Basic Electrical Checks
Many airflow issues are rooted in simple electrical problems. These are great DIY fixes because they don't involve touching the sealed refrigerant system. Here’s a quick troubleshooting path to follow:
- Check the Fuse: Locate the interior fuse panel, which is usually tucked under the dash or inside the glove box. Find the fuse labeled for the HVAC, blower, or AC system and pull it out. If the little metal strip inside is broken, replace it with a new fuse of the exact same amperage.
- Inspect the Relay: Some cars also use a relay for the blower motor, typically found in the fuse box under the hood. You can sometimes test a relay by swapping it with an identical one from a less critical system (like the horn) to see if the fan kicks on.
- Examine Wiring: Take a peek under the passenger-side dashboard where the blower motor and resistor usually live. Look for any loose or corroded connectors that might be interrupting the power flow.
Ignoring these airflow problems can cause other issues. For instance, poor airflow across the condenser can lead to the evaporator icing up, which can slash your car's cooling ability by 50%. At Kwik Kar, especially with older vehicles, we often spot these issues during routine state inspections and can prevent a small problem from turning into a big one.
If you suspect the filter is the culprit, check out our handy guide on changing your car air filter for step-by-step instructions.
When to Trust a Professional Mechanic
While tackling a DIY repair can be satisfying, a smart car owner knows when it’s time to put the tools down. Some A/C problems go way beyond what you can handle in a home garage. These systems are complex, operate under high pressure, and often require expensive, specialized equipment to fix correctly.
Knowing where to draw that line can save you from a simple issue turning into a massive, costly headache.
Red Flags That Demand an Expert
If your gut is telling you the problem is serious, it probably is. Certain symptoms are clear signals that you’re moving out of DIY territory and need a professional diagnosis.
A loud, grinding noise coming from the engine bay when you turn on the A/C, for example, is a classic sign of an internally seized compressor. This isn't a simple part swap; it requires a full system flush and replacement by a certified technician to avoid contaminating the brand-new compressor.
Here are a few other scenarios where calling a pro is the only right move:
- Suspected Compressor Failure: Any grinding, seizing, or a clutch that just won't engage even after you've confirmed the fuses and relays are good.
- Major Refrigerant Leaks: If that DIY recharge can you bought only kept things cool for a day or two, you've got a significant leak that needs professional detection tools to find.
- Electrical Gremlins: You’ve swapped the fuses and relays with no luck. The problem could be deeper, like a bad pressure switch, a faulty control module, or a wiring short.
- Internal Blockages: If the system has been open to the air for a while or you suspect contamination, it needs to be professionally evacuated with a vacuum pump and flushed to get rid of moisture and debris.
One of the biggest reasons to see a pro is refrigerant handling. The Environmental Protection Agency (EPA) has strict rules against releasing refrigerants into the atmosphere. Professionals use specialized recovery machines to safely capture and recycle the old refrigerant—something that's impossible to do correctly at home.
The Value of Professional Diagnostics
Guessing which A/C part has failed can get expensive, fast. A professional shop like Kwik Kar doesn't guess. We use advanced diagnostic tools like electronic "sniffers" for leak detection and manifold gauge sets to read system pressures, allowing us to pinpoint the exact root of the problem.
This precision saves you from the cycle of buying and replacing parts you didn't actually need. To see how the experts approach these complex jobs, you can learn more about professional heating and cooling services.
For a broader look at vehicle maintenance and other situations where professional help is invaluable, check out these general automotive resources. At the end of the day, trusting a pro for complex jobs ensures the repair is done safely, correctly, and is ultimately more cost-effective.
Your Car AC Repair Questions Answered
When it comes to car AC problems, a handful of the same questions always seem to come up. Getting straight answers can be the difference between a simple fix and a summer-long headache. Here, we'll tackle some of the most common things people ask, giving you the real-world insights you need to figure out your next move.
Sometimes, the biggest challenge is just knowing what's normal and what's a real problem. Understanding the basics of AC maintenance and when to use (or not use) certain DIY products can save you a lot of time and money.
How Often Should My Car AC System Be Serviced?
Unlike an oil change, there's no strict, manufacturer-set schedule for servicing your AC system. However, the smartest approach is to be proactive and have a professional look it over every one to two years.
Think of it as a wellness check for your car's climate control. This quick inspection lets a technician spot small problems—like a tiny refrigerant leak or a compressor clutch that's starting to weaken—before they snowball into a total system meltdown. For older cars or those with a lot of miles on the clock, an annual check-up right before summer hits is a fantastic idea to guarantee a cool, comfortable drive all season long.
Are AC Stop Leak Products A Good Idea?
Those "stop leak" products you see on the shelf at the auto parts store can be tempting. They promise a cheap, easy fix, but you need to be extremely careful with them. These additives work by swelling up the rubber seals and O-rings in your system, which might temporarily patch a very small, porous leak.
The problem is, they're far from a permanent solution and won't do a thing for leaks in metal parts like the condenser or evaporator.
Here's the real risk: stop-leak additives can easily clog up the most sensitive and expensive parts of your AC system, like the expansion valve or the receiver-drier. Using one could turn a straightforward leak repair into a massive, costly job involving a full system flush and replacing major components.
If a basic refrigerant top-off doesn't hold for very long, your best bet is to have a professional properly find and fix the source of the leak.
Does Running My Car AC Affect Fuel Economy?
Yes, it does, but probably not as much as you think. Kicking on the air conditioning puts a small extra load on the engine, which means it burns a little more fuel. But modern AC systems are incredibly efficient, so the hit to your miles per gallon (MPG) is usually pretty small.
It's a simple trade-off. That minor dip in fuel economy is well worth the comfort and, more importantly, the safety that a working AC provides on a scorching day. Driving in intense heat can lead to fatigue and slower reaction times, making a cool cabin an essential safety feature. A properly maintained system won't harm your engine at all.
When a simple recharge isn't the answer, trust the certified experts at Kwik Kar Oil Change and Auto Care to get to the bottom of the problem. We’ll diagnose and repair your vehicle’s AC system right the first time. Schedule your service with us today!