That rough idle at a stoplight, the hesitation when you hit the gas, or the fuel gauge that seems to drop way too fast—sound familiar? More often than not, your fuel injectors are the likely culprit. Learning how to test them is easier than you think. It can be as simple as listening with a screwdriver or as precise as using a multimeter, and this guide will walk you through it.
We're here to help you catch these issues at home before they turn into a major headache and a big repair bill.
Why Bother Learning to Test Your Fuel Injectors?
Think of your fuel injectors as the tiny, high-precision gatekeepers of your engine's power and efficiency. When they’re working right, they spray a perfect, vapor-like mist of fuel that ignites beautifully. But when they get clogged or fail, it starts a chain reaction that hits your wallet and makes driving a frustrating experience.
This guide isn't for master mechanics. It's for anyone who wants the confidence to figure out what's really going on under the hood. Knowing how to check your injectors can stop you from throwing money at parts you don't need and get you pointed toward the real problem.
The Heart of the Modern Engine
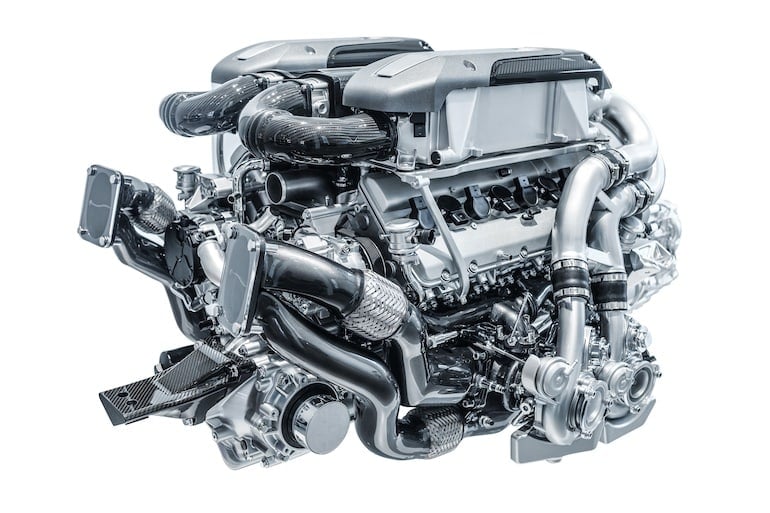
In today's cars, fuel injectors are more critical than ever. We’ve almost completely moved on from old-school carburetors. Over the past 30 years, electronic fuel injection has become the standard. In fact, by 2020, well over 95% of new light-duty vehicles were built with advanced multiport or gasoline direct injection (GDI) systems that absolutely depend on perfectly performing injectors. You can explore more data on automotive fuel injector trends to see just how dominant this technology has become.
When these injectors get even slightly dirty or clogged, fuel flow can drop by 5–20%. That leads directly to those rough idles, misfires, and a frustrating loss of 3–10% in fuel economy.
The real benefit of learning these tests is simple: empowerment. You go from being a car owner who just hopes for the best to someone who can take an active role in your vehicle's health, saving money and avoiding unnecessary repairs along the way.
Putting You Back in the Driver's Seat
It's like going to the doctor—they don't just start prescribing medicine without a diagnosis first. In the same way, replacing parts on your car without testing them is just expensive guesswork. By learning a few simple diagnostic tricks, you can confirm if an injector has actually gone bad or if the issue is somewhere else, like the wiring harness or the fuel pump.
This knowledge puts you back in control. You’ll be able to tackle small problems on your own and, just as importantly, you'll know exactly when it’s time to hand the keys over to a certified service center like Kwik Kar for a professional diagnosis.
Spotting the Telltale Signs of a Bad Fuel Injector
Before you ever pop the hood or reach for a tool, your car is probably already trying to tell you something’s wrong. Learning to pick up on the early warning signs of a failing fuel injector is the most important first step. These symptoms often start small but can quickly spiral into more serious performance problems if you ignore them.
Think of it as learning your car's language. That frustrating shudder you feel at a red light? That's a textbook rough idle, often caused by one or more injectors failing to deliver a consistent spray of fuel. This imbalance makes the engine stumble and shake.
Translating Driving Frustrations into Clues
The clues aren't just there when you're stopped. If your car hesitates or feels sluggish when you hit the gas to merge onto the highway, that’s a major red flag. This poor acceleration points directly to a fuel shortage, meaning an injector might be clogged and starving a cylinder of the gas it needs to make power.
You can often connect specific feelings behind the wheel to a potential injector problem. Here’s a quick look at how common issues translate.
Symptoms and Potential Fuel Injector Causes
This table breaks down what you might be feeling and what it could mean for your injectors:
| Symptom You Experience | What It Feels Like | Potential Injector Problem |
|---|---|---|
| Engine Misfires | A brief stumble, a "pop" from the exhaust, or a jerk during acceleration. | Injector is stuck open (flooding a cylinder) or stuck closed (no fuel at all). |
| Poor Fuel Economy | You're heading to the gas station way more often with no change in your driving habits. | A leaking or dirty injector is wasting fuel, causing your MPG to drop. |
| Strong Fuel Odor | An unmistakable smell of raw gasoline, especially noticeable around the exhaust. | A leaking injector is letting unburnt fuel pass straight through the engine. |
| Rough Idle | The engine shakes, vibrates, or stumbles when you're stopped at a light or in park. | One or more injectors are delivering an inconsistent amount of fuel, unbalancing the engine. |
| Poor Acceleration | The car feels weak, hesitates, or struggles to get up to speed. | A clogged or failing injector is not supplying enough fuel for the engine to perform under load. |
Paying attention to these signs gives you a massive head start on diagnosing the real issue before it gets worse.
When Your Dashboard Lights Up
Sometimes, the most obvious sign is the one staring you in the face: the check engine light. While this light can mean a lot of different things, certain trouble codes are classic indicators of fuel injector trouble.
For instance, a random misfire code like P0300 means multiple cylinders are misfiring, while a cylinder-specific code (like P0301 for cylinder 1) helps you narrow your focus. Fuel trim codes like P0171 (System Too Lean) or P0172 (System Too Rich) are direct signs that the air-fuel mixture is off, a problem that often starts with the injectors. If you see that light, you can learn more from our guide on what the check engine light means.
A check engine light isn't just a suggestion; it's your car's onboard computer reporting a specific fault. Ignoring it can lead to much bigger problems, like ruining your expensive catalytic converter.
This has become a bigger deal in recent years. Modern vehicle diagnostics are tied directly to emissions compliance, and tighter regulations demand precise fueling. As a result, injector performance is monitored more closely than ever. The global market for fuel injection systems is expected to grow to over USD 40 billion by 2035, largely driven by these environmental standards. This is why more cars fail state inspections for these exact codes. Catching the signs early is key.
Gathering Your Tools and Safety Essentials
Before you even think about touching a fuel injector, let's talk about getting prepped. This is the part everyone wants to skip, but it’s the single most important step for getting the job done right—and safely. Working on a fuel system means you’re dealing with flammable liquid under pressure. A few minutes of prep isn’t just good practice; it's absolutely non-negotiable.
Think of it like setting up your workshop before starting a project. You wouldn't start cutting wood without measuring tape and safety glasses. Same principle applies here. Let's get our tools and safety gear in order so this process is smooth, accurate, and incident-free.
Your Diagnostic Toolkit
Having the right tools on hand makes the difference between a frustrating afternoon and a quick, reliable diagnosis. While every car has its quirks, this core set of tools will get you through most fuel injector tests.
- Digital Multimeter: This is your best friend for any electrical diagnosis. We'll use it to measure the resistance inside the injector's coil, which is a fast way to spot an injector that's failed electrically.
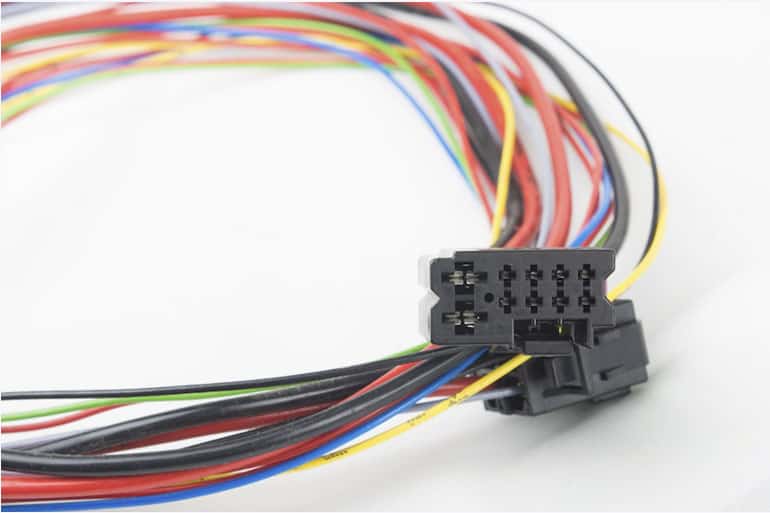
- Noid Light Set: A brilliantly simple tool. You unplug an injector's electrical connector, plug in the noid light, and crank the engine. If it flashes, the car's computer (ECU) is sending the signal to fire. No flash? The problem is likely upstream in the wiring, not the injector itself.
- Mechanic's Stethoscope or a Long Screwdriver: Sometimes the old-school methods are the best. You can touch the tip of either tool to the injector body and listen for the distinct "clicking" sound of it opening and closing. It’s a great first-pass auditory check.
- Fuel Pressure Gauge: If you suspect a bigger problem than just one bad injector, this is your tool. It hooks up to the fuel rail's test port and tells you if the fuel pump is delivering the right amount of pressure. Low pressure will starve all the injectors, causing system-wide issues.
Non-Negotiable Safety Protocols
Let's be crystal clear: gasoline demands respect. Modern fuel systems operate under surprisingly high pressure—it’s not uncommon to see over 60 PSI even on a standard port-injected engine. Direct injection (GDI) systems run at thousands of PSI and are best left to the pros.
Always, and I mean always, work in a well-ventilated area. An open garage door or a driveway is perfect. Fuel fumes are heavier than air and can build up in enclosed spaces fast.
Safety Tip: Have a Class B fire extinguisher within arm's reach before you start. It’s the kind of thing you hope to never use, but it's a critical safety net when you’re working with fuel.
Before you put a wrench on any fuel line or injector, you need to do the following:
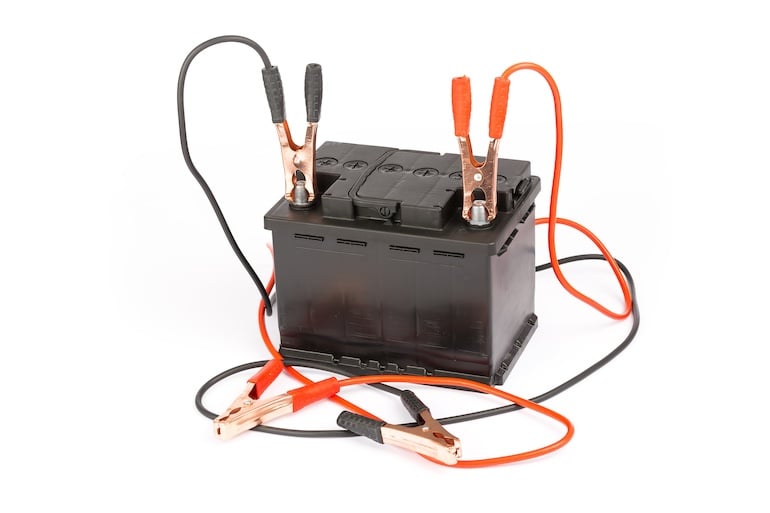
- Disconnect the Negative Battery Terminal. This is a five-second step that prevents any stray electrical sparks from igniting fuel vapor. It completely eliminates one of the biggest risks.
- Relieve the Fuel System Pressure. Check your vehicle’s service manual for the exact procedure. Usually, this means pulling the fuel pump fuse or relay, then running the engine until it stalls out. This depressurizes the fuel lines so you don’t get a dangerous spray of high-pressure gasoline when you disconnect something.
- Wear Protective Gear. This isn't optional. Put on fuel-resistant gloves and safety glasses. Gasoline is nasty stuff on your skin, and getting a splash in your eyes is a trip to the emergency room.
By treating these rules as mandatory, you create a safe, controlled workspace. Now you can focus on diagnosing the problem without putting yourself or your car in danger.
Actionable Methods for Testing Fuel Injectors
Alright, with your workspace prepped and your tools laid out, it’s time to get your hands dirty. We're going to walk through several ways to test your fuel injectors, starting with the simplest checks you can do by ear and moving up to more precise electrical tests. Think of each method as another piece of the diagnostic puzzle, helping you zero in on what's causing your engine troubles.
It's important to know that these DIY tests are fantastic for finding an injector that's completely dead or has an obvious electrical fault. More subtle problems, like a wonky spray pattern or a minor clog, usually need a professional bench test to spot. But for the most common failures? These methods will get you there.
The Screwdriver Test: A Quick Auditory Check
Let's start with the easiest test of them all—one that only requires a long screwdriver. Sometimes called the stethoscope test, this trick lets you listen in on your injectors to make sure they're mechanically firing. A healthy injector makes a very distinct, sharp "clicking" or "ticking" sound as it opens and closes.
Here's how you do it:
- Start the engine and let it settle into a steady idle.
- Carefully touch the tip of a long screwdriver right onto the body of the first fuel injector.
- Press the handle of the screwdriver firmly against your ear. The metal acts like a stethoscope, transmitting the internal sounds right to you.
You should hear a consistent, rapid click-click-click. Go down the line, listening to each injector and comparing the sounds. If one is dead silent or sounds muffled compared to the others (more of a dull thud than a sharp tick), that’s a huge red flag. It’s a strong sign that the injector is either clogged solid or isn't getting the electrical signal to fire.
Electrical Diagnosis With a Multimeter
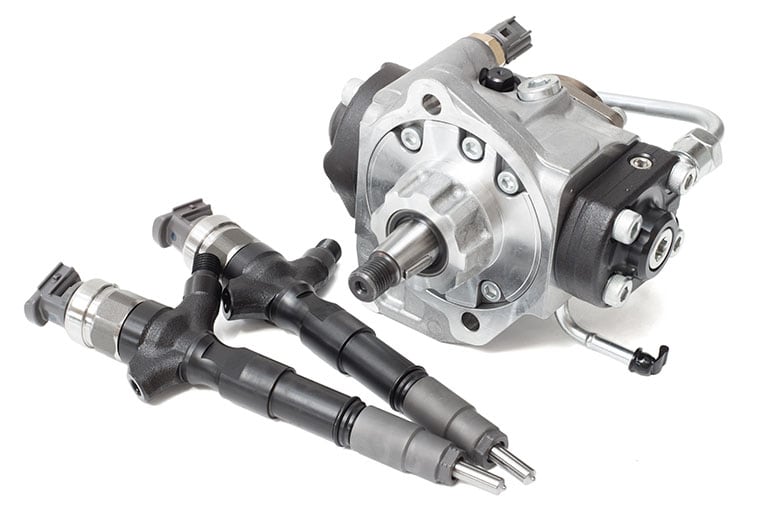
If the screwdriver test revealed a silent injector, the next logical step is to check its electrical pulse. An injector is basically just an electromagnet with a tiny coil of wire inside. If that coil breaks, the injector is toast. A digital multimeter is the perfect tool for finding this kind of internal electrical failure.
Before you start, you'll need to find the resistance spec for your vehicle's injectors, usually measured in ohms (Ω). Dig out your service manual or do a quick online search. Most common multiport injectors should fall somewhere in the 10 to 16-ohm range.
- Disconnect the Injector: With the engine off and the battery disconnected for safety, unplug the electrical connector from the injector you suspect is bad.
- Set Your Multimeter: Switch your multimeter to the ohms (Ω) setting. If it doesn’t auto-range, the 200-ohm scale is usually the right choice.
- Probe the Terminals: Touch one multimeter probe to each of the two electrical pins on the injector itself. It doesn't matter which probe touches which pin.
A good injector will give you a reading right inside the manufacturer's specified range. If your multimeter screen shows "OL" (Open Loop) or infinite resistance, the coil inside is broken, and the injector is electrically dead. On the flip side, a reading of zero or close to it means there's a short circuit. Either way, that injector needs to be replaced.
Key Takeaway: An out-of-spec resistance reading is a definitive sign of electrical failure. No amount of fuel cleaner can fix a broken internal coil, making this a clear-cut diagnostic result.
Verifying the Signal With a Noid Light
So what happens if an injector has the correct resistance but still won't click? The problem might not be the injector at all. It could be the signal coming from the engine control unit (ECU). This is where a noid light becomes your best friend. This simple little tool plugs into the injector harness and tells you if the power and signal are actually reaching the injector.
Using a noid light is straightforward:
- Unplug the electrical connector from the suspect injector.
- Find the correct noid light from your kit and plug it into the harness connector.
- Have a friend crank or start the engine while you keep an eye on the noid light.
If the ECU and wiring are doing their job, the light will flash in a steady, rapid pulse. A bright, consistent flash confirms the injector is getting the command to open. But if the light is dim, erratic, or doesn’t light up at all, you've got a problem somewhere upstream—either in the wiring harness or the ECU itself. This simple test can save you from replacing a perfectly good injector.
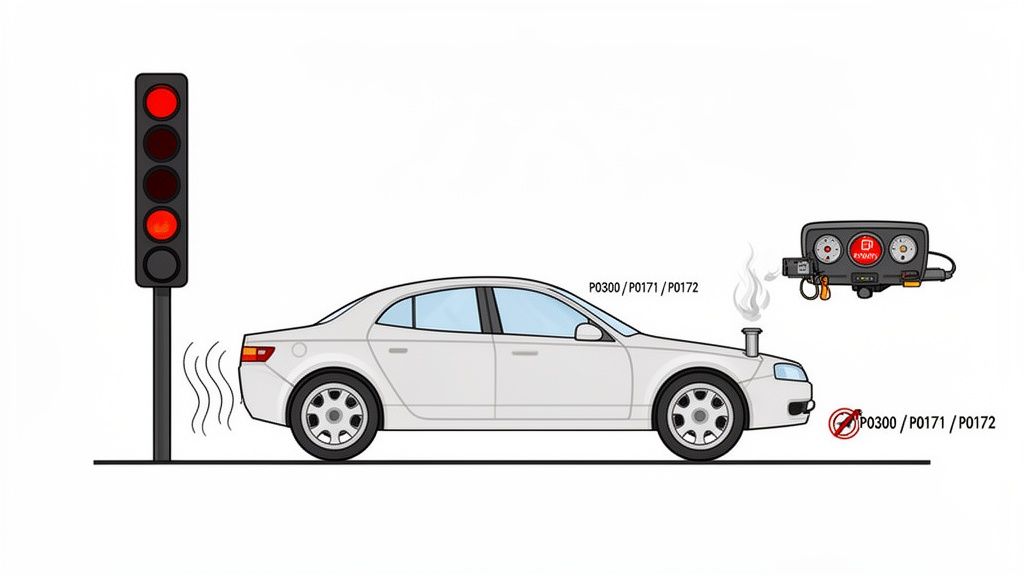
To help you get started, this process flow shows the core diagnostic tools you'll need.
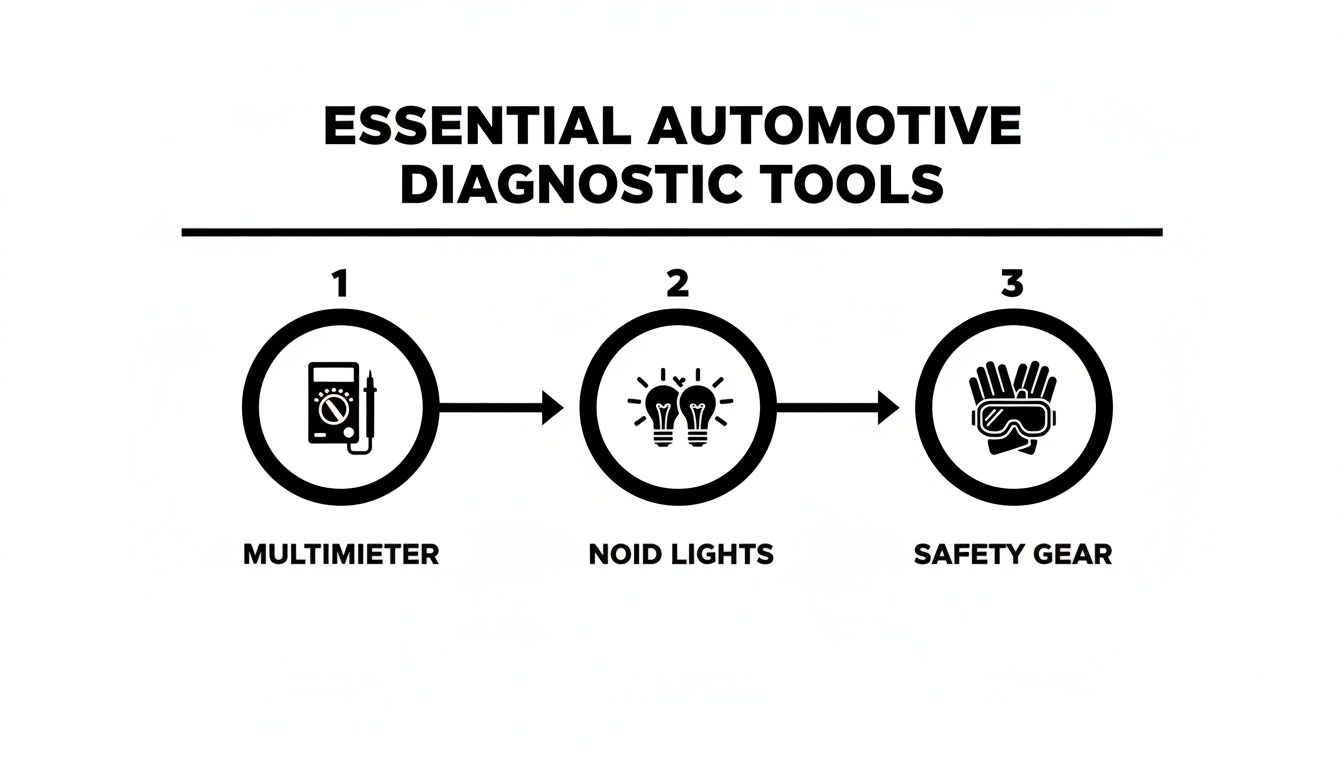
This visualization highlights that effective injector testing relies on a combination of electrical checks with a multimeter, signal verification with noid lights, and, most importantly, proper safety gear.
Systematic testing is more important than ever. Modern injectors, especially in direct-injection systems, are far more complex and expensive than older designs. Industry research on the automotive fuel injector market shows that accurate diagnosis is "very critical" because blindly swapping parts can get costly, fast. With high-pressure GDI and diesel systems becoming common, a single injector can run several hundred dollars, and a full set can easily top USD 1,000 in parts alone.
The Cylinder Balance Test
For a more advanced approach, you can perform a cylinder balance test. This helps you figure out if every cylinder is pulling its weight. The idea is simple: if you disable a working injector, the engine RPM will drop because that cylinder is no longer contributing power. If you disable a faulty one and nothing changes, you’ve found your culprit.
The high-tech way to do this is with a professional scan tool that has bidirectional controls, allowing you to switch off individual injectors from the driver's seat. If you don't have one, you can do it the old-fashioned way: with the engine idling, carefully unplug one injector at a time, listening for that RPM drop. Plug it back in immediately before moving to the next. If unplugging an injector causes no change in how the engine runs, you've confirmed it wasn't doing anything in the first place.
How to Interpret Your Test Results
Running the tests is just the first part of the job. The real skill is in knowing what those numbers and flashing lights actually mean for your engine. Each test gives you another piece of the puzzle, and now it's time to put them together.
This isn't about guesswork. It's about taking the data you just collected and turning it into a confident decision—whether that’s ordering a new part or just running a bottle of injector cleaner through the system. Let's break down what each outcome means in practical, real-world terms.
Decoding Your Multimeter Readings
The multimeter resistance test is probably the most definitive check you can do at home. It gives you a clear look at the electrical health of the injector's internal coil, and the results are usually pretty black and white.
Let’s imagine your vehicle’s service manual specifies a resistance between 12 and 16 ohms (Ω). Here’s what your readings are telling you:
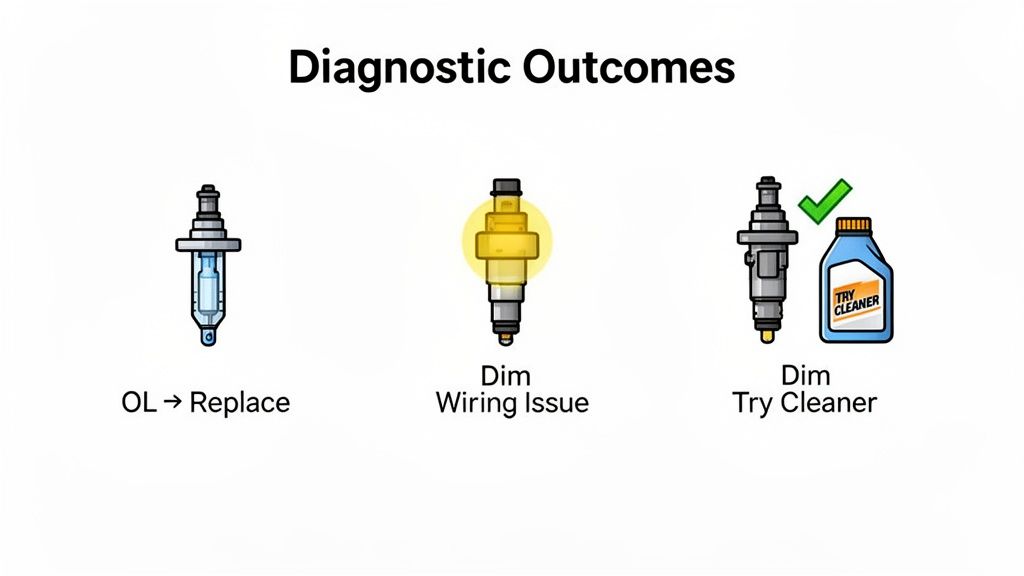
- Result: "OL" (Open Loop) or infinite resistance. This is a slam dunk. The thin wire coil inside the injector has completely broken. No electricity can flow, which means the injector is dead. It must be replaced.
- Result: Zero or almost zero ohms. This means you have a short circuit inside the injector. The coil's insulation has failed, allowing electricity to pass through without resistance. This is bad news and can even damage the injector driver in your car's computer. This injector also needs to be replaced.
- Result: Within the specified range (say, 14.2 ohms). Perfect. Electrically, this injector is in great shape. If you're still having trouble with this cylinder, the problem is most likely mechanical (like a clog) or somewhere else in the wiring, not the injector itself.
But what if you get a reading that's just a little out of spec, like 11.5 ohms when the minimum is 12? That’s a bit of a gray area. It often points to an injector that's on its way out. Heat changes resistance, so an injector that’s borderline might work fine when the engine is cold but start to fail as it warms up.
An ambiguous electrical reading often points to an intermittent problem. In this scenario, trying a high-quality fuel system cleaner is a low-cost first step. If symptoms persist, that injector is a prime candidate for replacement.
Understanding Noid Light and Auditory Signals
The noid light and screwdriver tests shift the focus from the injector to the signals it's receiving and how it's responding mechanically. These checks help you figure out if the problem is the part itself or the system that controls it.
A noid light test will give you one of three basic results:
- A bright, steady flash: This is exactly what you want to see. It confirms the wiring and the ECU are sending a strong, consistent pulse to the injector. If this cylinder is still misfiring, the injector itself is the most likely culprit—it's probably clogged or mechanically stuck.
- A dim or flickering flash: This points to an electrical issue before the injector. You might have a corroded connector, a damaged wire, or a weak driver in the ECU. The injector is probably fine; it's just not getting enough juice to fire correctly.
- No flash at all: The signal isn't even making it to the connector. The problem is definitely in the wiring harness or the ECU. This simple test just saved you from buying an injector you didn’t need.
The screwdriver test works hand-in-hand with these findings. If you hear a nice, crisp clicking from every injector except one, it confirms that the silent one isn't physically opening and closing. Pair that with a good, bright noid light flash, and you can be confident the injector is mechanically seized or clogged solid.
If you're stuck with a tricky electrical issue like a dim noid light, a professional engine diagnostic service can trace the fault through the harness and pinpoint the failure, saving you hours of frustration.
DIY Test Results: What They Mean and What to Do Next
To make things even clearer, here’s a quick reference table that puts all the potential results together. Think of it as your cheat sheet for translating your test findings into a solid action plan.
| Test Method | Your Result | What It Likely Means | Recommended Next Step |
|---|---|---|---|
| Multimeter | "OL" or zero resistance reading. | The injector's internal coil has failed. It's electrically dead. | Replace the fuel injector. No amount of cleaning can fix a broken coil. |
| Noid Light | No light, but multimeter shows good resistance. | The injector is probably okay, but the electrical signal isn't reaching it. | Inspect the wiring harness and connector for damage, corrosion, or a loose connection. |
| Noid Light + Screwdriver | Bright flash, but no audible "click". | The injector is receiving the signal to fire but is mechanically stuck (closed or open). | Try a potent injector cleaner first. If that doesn't solve it, the injector needs to be replaced. |
| Cylinder Balance | RPM doesn't drop on one cylinder. | That cylinder's injector isn't providing fuel, so it’s not contributing power. | Confirm with multimeter and noid light tests to pinpoint the exact cause of the failure. |
By layering the results from each test, you move beyond swapping parts and hoping for the best. This systematic approach helps you build a complete picture of the problem, allowing you to fix what's actually broken and get your vehicle running smoothly again.
Knowing When to Call a Professional Mechanic
Getting your hands dirty with some DIY diagnostics is a fantastic way to track down common fuel injector problems. It feels great to figure things out on your own. But knowing your limits is just as important as knowing how to use a multimeter.
At-home tests are perfect for finding an injector that’s completely dead electrically or totally stuck open or closed. The problem is, they can’t always reveal the more subtle failures that can drive you crazy trying to diagnose.
The Limits of At-Home Testing
The simple truth is that most DIY methods only scratch the surface of what could be wrong. A professional shop has advanced tools that give definitive, data-driven answers that go far beyond a simple pass/fail check from a noid light. This is where the real diagnosis happens for those tricky, persistent issues.
Professional diagnostic equipment includes:
- Injector Bench Testers: This is the gold standard for testing. A technician pulls the injectors and mounts them on a machine that simulates real-world engine conditions. It precisely measures the flow rate of each injector, compares them side-by-side, and analyzes their spray patterns for consistency.
- High-End Scan Tools: These aren’t your average code readers. Professional scan tools offer bidirectional controls, letting a mechanic "turn off" individual injectors while the engine is running. They can then watch live engine data to see the exact impact on performance and fuel trims.
- Digital Storage Oscilloscopes: When you're chasing a ghost—those frustrating intermittent electrical faults—an oscilloscope is the ultimate tool. It maps the actual electrical signal going to an injector, revealing tiny glitches that a multimeter or noid light would never catch.
Recognizing when you're out of your depth is the mark of a smart DIY mechanic. Pushing beyond your skill level, especially with pressurized fuel systems, can turn a simple repair into a costly and dangerous mistake.
Specific Scenarios Demanding Expert Help
Sometimes, the complexity or risk involved makes the decision for you. If your initial tests point to deeper issues, it’s wise to turn to a professional. Understanding what makes a reputable automotive shop effective can help you choose the right one.
You should always hand the keys over to a pro in these situations:
- You Have a GDI System: Gasoline Direct Injection (GDI) systems operate under incredibly high pressure, often exceeding 2,000 PSI. This is not a system to learn on. Working on GDI fuel systems without proper training and specialized tools is extremely dangerous.
- You Suspect an Intermittent Fault: Is your car running poorly one minute and perfectly fine the next? You’re likely chasing an intermittent electrical issue that only pops up under specific conditions, like when the engine gets hot or is under a certain load. These are notoriously difficult to find without advanced equipment.
- You Lack Confidence: If you feel the slightest bit uneasy working around a pressurized fuel system, that’s your cue to stop. There’s no shame in it. Your safety should always be the top priority.
For these kinds of advanced diagnostics and repairs, trusting an ASE-certified team is the smartest and safest move. If you're in the Richardson, TX, area and have hit a wall with your testing, our team has the tools and expertise for professional fuel injector and pump repair to get the job done right.
Common Questions About Fuel Injectors
When you're troubleshooting fuel injector issues, a few questions always seem to pop up. Getting straight answers helps you figure out the best move for your car and your wallet. Here are some of the most common things we hear from drivers and DIY mechanics.
Can a Bottle of Fuel Additive Really Clean My Injectors?
Yes, those high-quality fuel injector cleaners can definitely work—but you have to know their limits. If you're dealing with minor carbon deposits or a slight dip in performance, a good additive can dissolve that gunk and get your spray patterns back on track. Think of it as a great first step or a solid preventative measure.
But it's not a miracle cure. If an injector is completely dead electrically, seized up, or so clogged that fuel can't get through, no chemical in a bottle is going to fix it.
What’s the Price Tag on Professional Testing or Replacement?
The cost for professional service can vary quite a bit, but here's a ballpark idea of what you can expect:
- Professional Bench Test: To get an injector professionally tested on a bench, you’re looking at about $25 to $50 per injector. This is the gold standard for diagnosis because it measures the actual flow rate and spray pattern.
- Injector Replacement: This is where the price can really swing. The part itself—a single new injector—can run anywhere from $50 to over $400, depending on your vehicle and whether you have a standard port or a GDI system. Labor can add another $200 to $600 to the bill, so replacing a full set can be a pretty significant investment.
So, should you clean it or replace it? The answer usually comes down to simple math. If a professional cleaning and bench test doesn't bring an injector back to spec, replacement is your only real choice.
For minor clogs, cleaning is a smart, budget-friendly option. But for an injector that's failing electrically or still has a bad spray pattern after a pro cleaning, replacement is the best long-term solution. It saves you from future headaches and makes sure your engine runs the way it was designed to.
When you need clear answers and service you can count on, Kwik Kar Oil Change and Auto Care is here to help. Our ASE-certified technicians in Richardson, TX, use the right tools to diagnose the problem accurately and get you back on the road. Schedule your appointment today at https://www.kkrichardson.com.