You’re probably here because the transmission doesn’t feel quite right. Maybe it hesitates leaving a light on Arapaho, bumps into gear on the way up US-75, or just feels less smooth than it used to. That’s often where transmission service starts. Not with a dramatic failure, but with small changes in shift feel that get worse when the fluid is old.
A lot of drivers hear “transmission service” and assume a quick drain and fill handles it. Sometimes it helps. Sometimes it doesn’t go far enough. If you want to understand how to do a transmission flush safely at home, the key is knowing what a true flush accomplishes, where DIY makes sense, and where you should stop and hand the job to a shop.
Is Your Transmission Crying for Help
You pull away from a light on Belt Line, the engine revs a little higher than it should, and the shift into the next gear feels soft instead of clean. By the time you get to work, the car still moves, so it is easy to put off. That is how transmission problems often start in Richardson. Not with a breakdown, but with heat, traffic, and fluid that is no longer doing its job well.
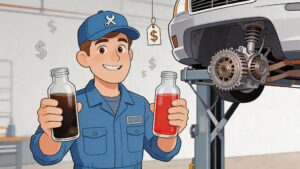
One point matters early. A drain and fill and a full flush are not the same service. A pan drain only replaces the fluid sitting in the pan. Old fluid can still remain in the torque converter, valve body, and cooler lines. A full flush, done the right way for the vehicle, exchanges far more of the worn fluid circulating through the system. For modern automatics that spend a lot of time in stop-and-go traffic, that difference can affect shift quality and operating temperature.
That is why drivers sometimes pay for a basic fluid service and still complain that the transmission feels lazy or uneven afterward. The fresh fluid helps, but it is mixing with a large amount of old fluid that is still carrying heat, debris, and worn additives through the transmission.
Richardson driving speeds that process up. Short trips, repeated stops, long idle time with the A/C running, and hot pavement all push transmission temperatures up. Automatic transmissions rely on fluid for hydraulic control, lubrication, and cooling. Once that fluid is dark, burnt, or contaminated, the transmission has a harder time applying clutches cleanly and holding steady pressure.
A careful DIYer can perform a fluid exchange at home on some vehicles, usually through the cooler line method. That is the practical method for a home flush. It also has limits. If the fluid smells burnt, the transmission is already slipping, metal is present in the pan, or the service procedure requires scan-tool temperature monitoring, stop there and let a shop handle it. Those are the cases where the wrong DIY move can turn a drivability complaint into a rebuild.
If you are not sure whether your symptoms point to fluid service or something more serious, review these common signs of transmission problems before you start buying fluid and tools.
Decoding Your Transmission's Warning Signs
A lot of owners get to this point after the same kind of drive. You leave a light on Belt Line, the transmission hesitates pulling away, then it bangs a little harder than usual on the next shift. One rough shift by itself does not prove you need a flush, but a pattern of heat-related or pressure-related symptoms deserves attention before you service it the wrong way.
What you feel while driving
Pay attention to when the problem shows up. That timing matters.
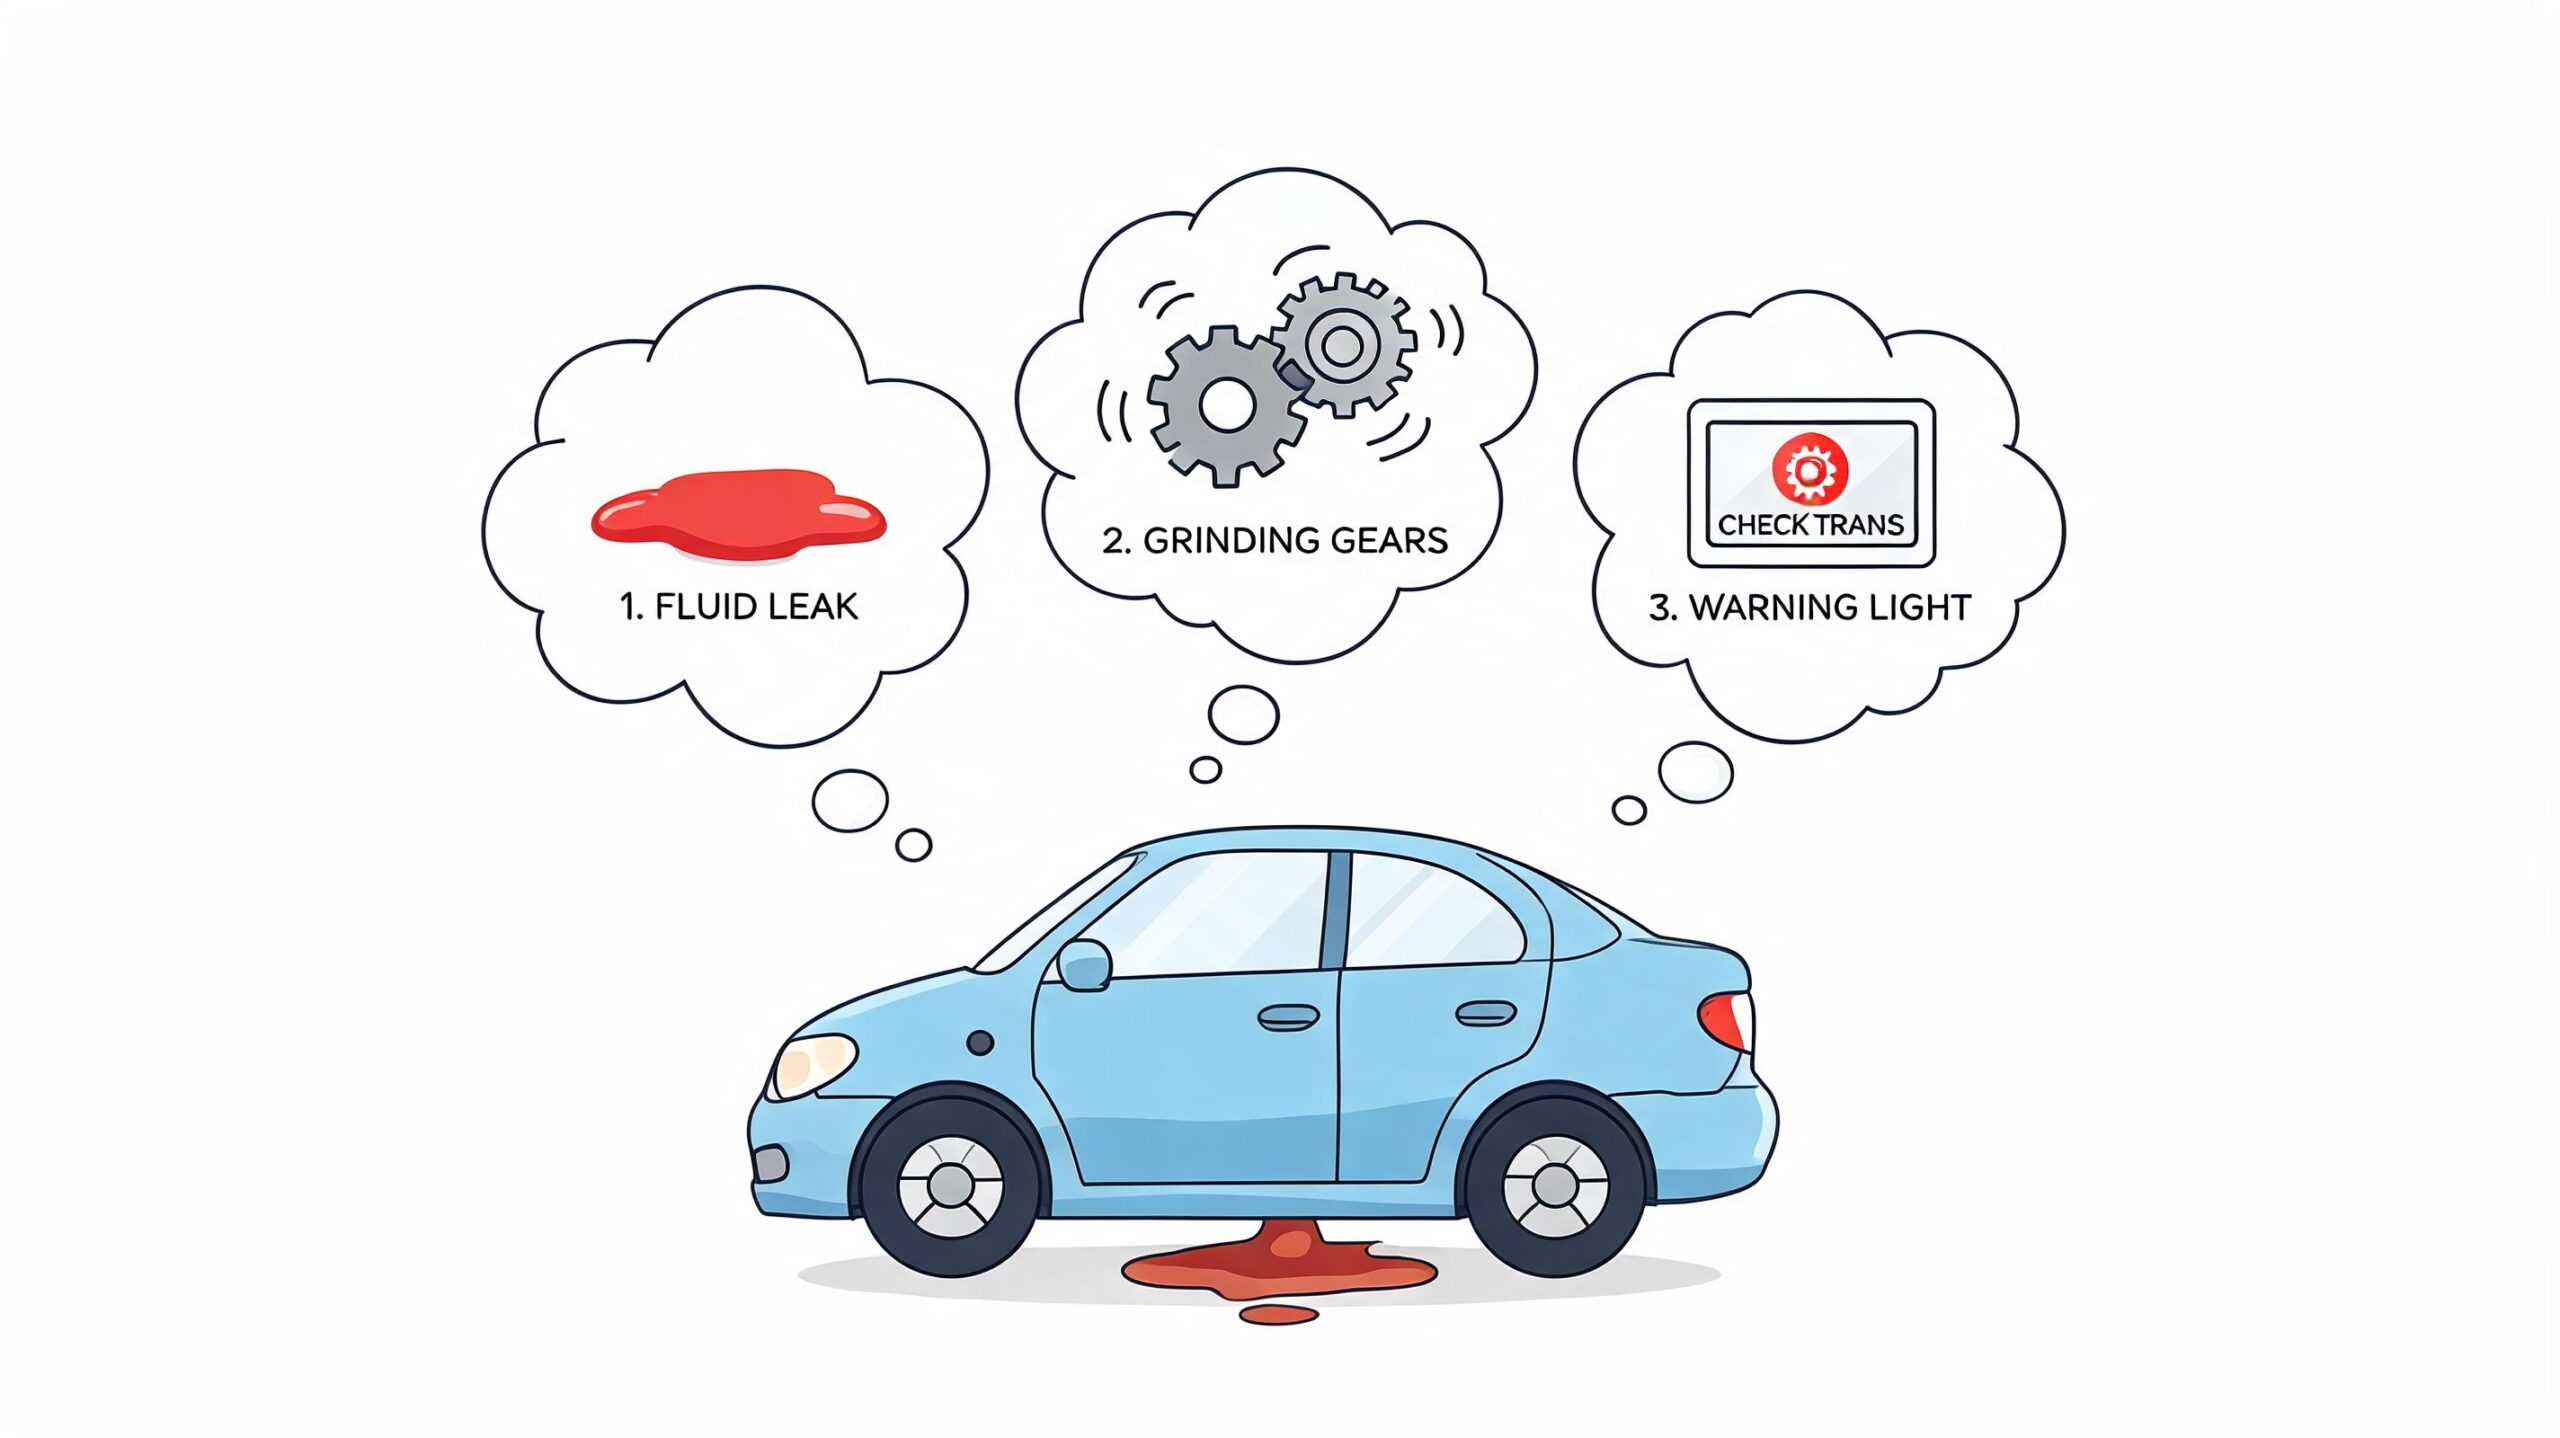
- Delayed engagement: You shift into drive or reverse, and the transmission pauses before it takes hold.
- Rough or jerky shifts: Gear changes feel sharper than normal, especially after the vehicle is fully warmed up.
- Slipping: Engine rpm climbs, but vehicle speed does not follow the way it should.
- Lurching or harsh apply: The transmission grabs a gear too suddenly instead of easing into it.
Those symptoms often point to worn fluid, but they can also point to valve body issues, low fluid level, internal wear, or an electronic control problem. That is why a drain and fill is sometimes enough for a mildly overdue transmission, while a full fluid exchange makes more sense when old fluid is still circulating through the converter and cooler. If the transmission is already slipping badly, though, fluid service may not solve the complaint.
What you hear and smell
A healthy automatic should stay in the background. If you start noticing it, take that seriously.
Watch for:
- Whining during acceleration
- Clunking on shifts
- Grinding-type noise
- A burnt smell from the fluid
Burnt fluid is a bad sign because heat has already broken down the additives that help with lubrication, cooling, and clutch engagement. A flush can help only if the transmission is still mechanically sound. Loud, repeated noise in every gear range usually calls for diagnosis before any service.
What the fluid tells you
If your vehicle has a dipstick, check the fluid on a clean white towel with the engine at the procedure your manufacturer specifies. Color and smell can tell you a lot quickly.
| Fluid condition | What it suggests |
|---|---|
| Bright red or pink | Usually normal, serviceable fluid |
| Dark brown | Oxidation and heat wear |
| Burnt smell | Fluid breakdown from excess heat |
| Grit or visible debris | Possible internal wear or neglected maintenance |
Fluid condition helps you choose the safer next step. Dark fluid with no debris and no slipping may still be a reasonable candidate for a careful DIY exchange. Burnt fluid, shiny metal, or heavy debris in the sample is where I tell people to stop and get it checked before they try a home flush.
Some late-model transmissions do not have a dipstick, and some require scan-tool temperature monitoring to verify the level. On those vehicles, guessing at the fluid level can create a bigger problem than the original symptom.
If you want a broader symptom checklist before deciding whether you are dealing with fluid service or a repair issue, review these signs of transmission problems.
Your Transmission Flush Toolkit
Set your tools and fluid out before the car goes up in the air. That one habit prevents a lot of DIY mistakes. A transmission exchange is not the job to pause halfway through while the pan drips and you realize you do not have enough fluid, the right clamp, or a container big enough to measure what came out.

Tools to set out first
A home cooler-line exchange does not require a shop flush machine, but it does require control and clean measuring. Gather these first:
- Socket set and ratchet: For splash shields, brackets, and pan bolts if your service includes a filter.
- Line pliers or hose clamp pliers: Useful for spring clamps on cooler hoses.
- A long funnel: Helps you add fluid cleanly through the dipstick tube or the correct fill point.
- Clear vinyl hose: Lets you route used fluid from the cooler return line into a marked container so you can watch color and flow.
- Large drain pan or graduated bucket: You need to measure what comes out so you can put the same amount back in.
- Shop towels and cleanup supplies that are safe around automotive finishes: ATF spreads fast and gets slick underfoot.
The marked container matters more than people expect. On a drain and fill, you may replace only part of the old fluid. On a flush-style exchange, you are tracking volume repeatedly, and bad math can leave the unit low on fluid.
Materials that need to match the vehicle
Transmission service is one place where "close enough" causes expensive problems. Use the exact fluid specification listed by the manufacturer, not just a bottle that claims broad compatibility.
- The correct transmission fluid spec for your year, make, model, and transmission code
- A new transmission filter and pan gasket, if your transmission has a serviceable filter
- Replacement clamps, O-rings, or sealing washers if your setup uses them
- A catch container with clear volume markings
If you are unsure how to confirm the right fluid before buying parts, review this guide to checking car fluids correctly. It is a good refresher on identifying service points and reading labels before you start.
One practical comparison helps here. Differential and marine gear oils also depend on exact specs and proper fill procedures. The same discipline applies to automatics. This boat gear lube guide is for a different system, but it shows the same basic rule. Fluids are application-specific, and guessing is how seals, clutches, and bearings get damaged.
Safety gear and setup items
Transmission fluid can be hot. The vehicle may need to run during part of the exchange. Treat setup and stability as part of the repair.
- Safety glasses: You will be looking up at fittings and hoses.
- Nitrile gloves: Old ATF is messy and hard on skin.
- Wheel chocks: Required any time the vehicle is raised.
- A jack and quality jack stands, or ramps rated for your vehicle
- Good ventilation: The engine may idle while fluid is pumped out through the return line.
Never trust a floor jack by itself. If the vehicle is not steady on ramps or stands, stop and fix that before touching a cooler line.
One more item belongs in the toolkit even though it is not a hand tool. Have the factory service information, or at minimum a reliable service manual, open before you begin. Many newer vehicles use sealed transmissions, temperature-based level checks, or manufacturer-specific fill procedures. That difference is why a simple drain and fill is often the safer DIY choice for some cars, while a full flush-style exchange makes sense for others. In heavy Richardson stop-and-go driving, fluid runs hotter and degrades faster, so getting the method and the fluid spec right matters a lot more than working fast.
Performing a Transmission Flush at Home
You pull into the driveway after a week of Richardson traffic, the transmission is fully warmed up, and the shifts have started to feel a little lazy. This is the point where method matters. A drain and fill replaces only the fluid that can leave the pan. A full cooler-line exchange replaces fluid from the pan, cooler, lines, and much of the torque converter circuit. On many modern automatics, that broader exchange is the only way to get old, heat-stressed fluid out of the system.
The safer DIY version uses the transmission’s own pump and short run cycles. The rule is simple. Never let the pump push fluid out faster than you can replace it.
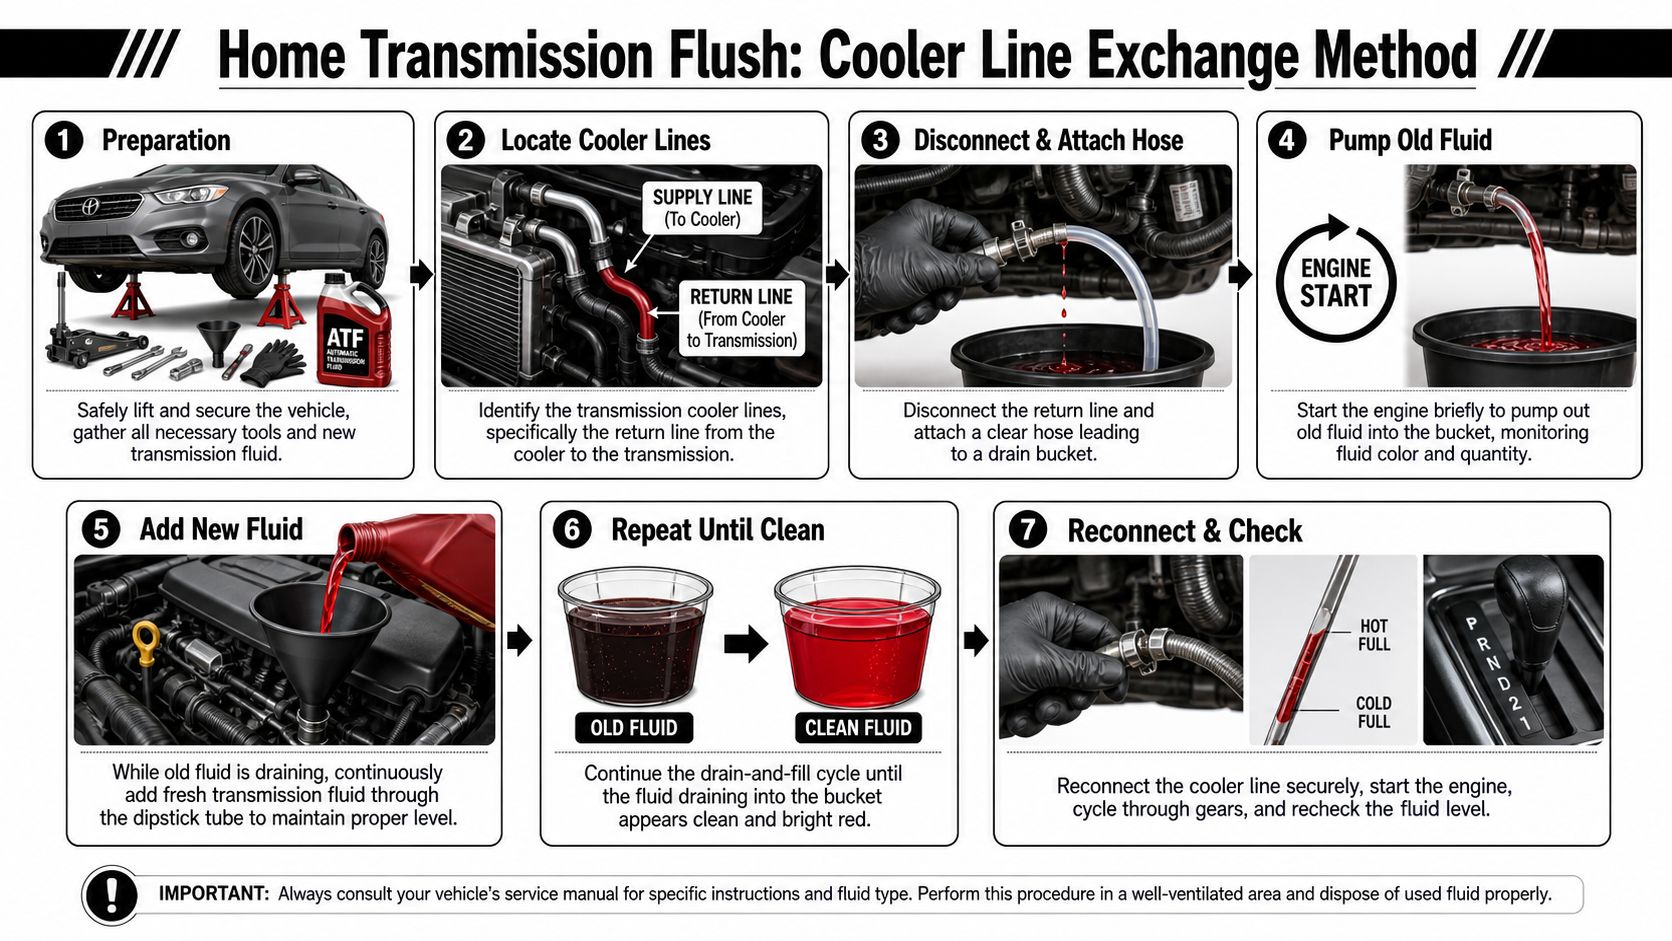
Warm it up and identify the system
Bring the transmission up to operating temperature with a short drive. Warm fluid flows better and gives you a more realistic level check later. You do not want it scorching hot.
Park on level ground. Set the parking brake. Chock the wheels. Raise and support the vehicle only if you need the extra access.
Then verify three things before you loosen anything:
- the transmission cooler lines
- the return line from the cooler back to the transmission
- the correct fill point
That last one trips up a lot of capable DIYers. Some vehicles fill through the dipstick tube. Some use a side fill plug. Some sealed units require a pump and a temperature-based level check. If you cannot confirm the return line and fill procedure from service information, stop there and switch to a drain and fill or hand it to a shop.
Service the pan first if your transmission is designed for it
If the pan is removable and the filter is serviceable, handle that before the exchange. Drain the pan, remove it carefully, and inspect what is sitting in the bottom.
A light film of clutch material on the magnet is common. Shiny flakes, heavy metal, or chunks are not. That is a diagnosis moment, not a flushing moment.
Replace the filter and gasket if your transmission design allows it. Then reinstall the pan and add the amount of fluid needed to replace what you drained. Starting the cooler-line exchange with the pan still low is how a transmission gets damaged fast.
Set up the cooler-line exchange
Disconnect the return line at the safest accessible point and route it into a marked container. A length of clear hose helps because you can watch the color change as the exchange progresses. Secure the hose well. Transmission fluid comes out with more force than many people expect.
Pre-fill the transmission with fresh fluid before you start the engine. Have the rest of the new fluid opened and within reach. This is not a job where you want to pause and hunt for bottles with the engine running.
If you have ever changed lower-unit oil on a boat, the logic is similar. You are trying to replace fluid through the whole working circuit, not just what drains easily. That same maintenance mindset shows up in this practical boat gear lube guide.
Exchange the fluid in short cycles
Start the engine and let it idle only long enough to pump a small amount into the container. Shut it off. Measure what came out. Add back the same amount through the proper fill point.
Repeat that cycle until the outgoing fluid looks close to the new fluid you are pouring in.
Keep the process boring and controlled. On my side of the shop, the trouble usually starts when someone gets impatient and lets the bucket fill too long. A transmission pump does not forgive that mistake.
This video shows the general cooler-line method in motion:
Reconnect everything and set the final level correctly
Reconnect the cooler line and secure every clamp or fitting. Clean any spilled fluid so you can spot a fresh leak. Start the engine, keep your foot on the brake, and move slowly through each gear position with a short pause in each range. That circulates fluid through the valve body, converter, and clutch circuits.
Now do the final level check exactly the way the manufacturer specifies. That may mean checking it hot, checking it cold, or checking it within a narrow temperature window. Do not guess. The difference between slightly low and slightly overfilled can show up as delayed engagement, foaming, or erratic shifts.
A full exchange takes more effort than a simple drain and fill, but it removes much more of the old fluid from the whole system. That is the main reason owners consider it after hard city driving, towing, or long service intervals.
Stop and call a pro if any of these show up during the job:
- you cannot verify the correct cooler return line
- the fluid coming out looks burnt and full of metallic debris
- the transmission has no clear DIY level-check procedure
- the vehicle uses a CVT, dual-clutch transmission, or manufacturer-specific flush restrictions
- the transmission slips, bangs into gear, or loses pump flow during the exchange
If you decide the vehicle is a better shop candidate, Kwik Kar Oil Change and Auto Care offers transmission flush service with dedicated equipment for a controlled fluid exchange.
Common Pitfalls and Important Considerations
Most transmission flush mistakes aren’t dramatic. They’re quiet, simple errors that show up later as leaks, poor shifting, or a transmission that was never the right DIY candidate in the first place.
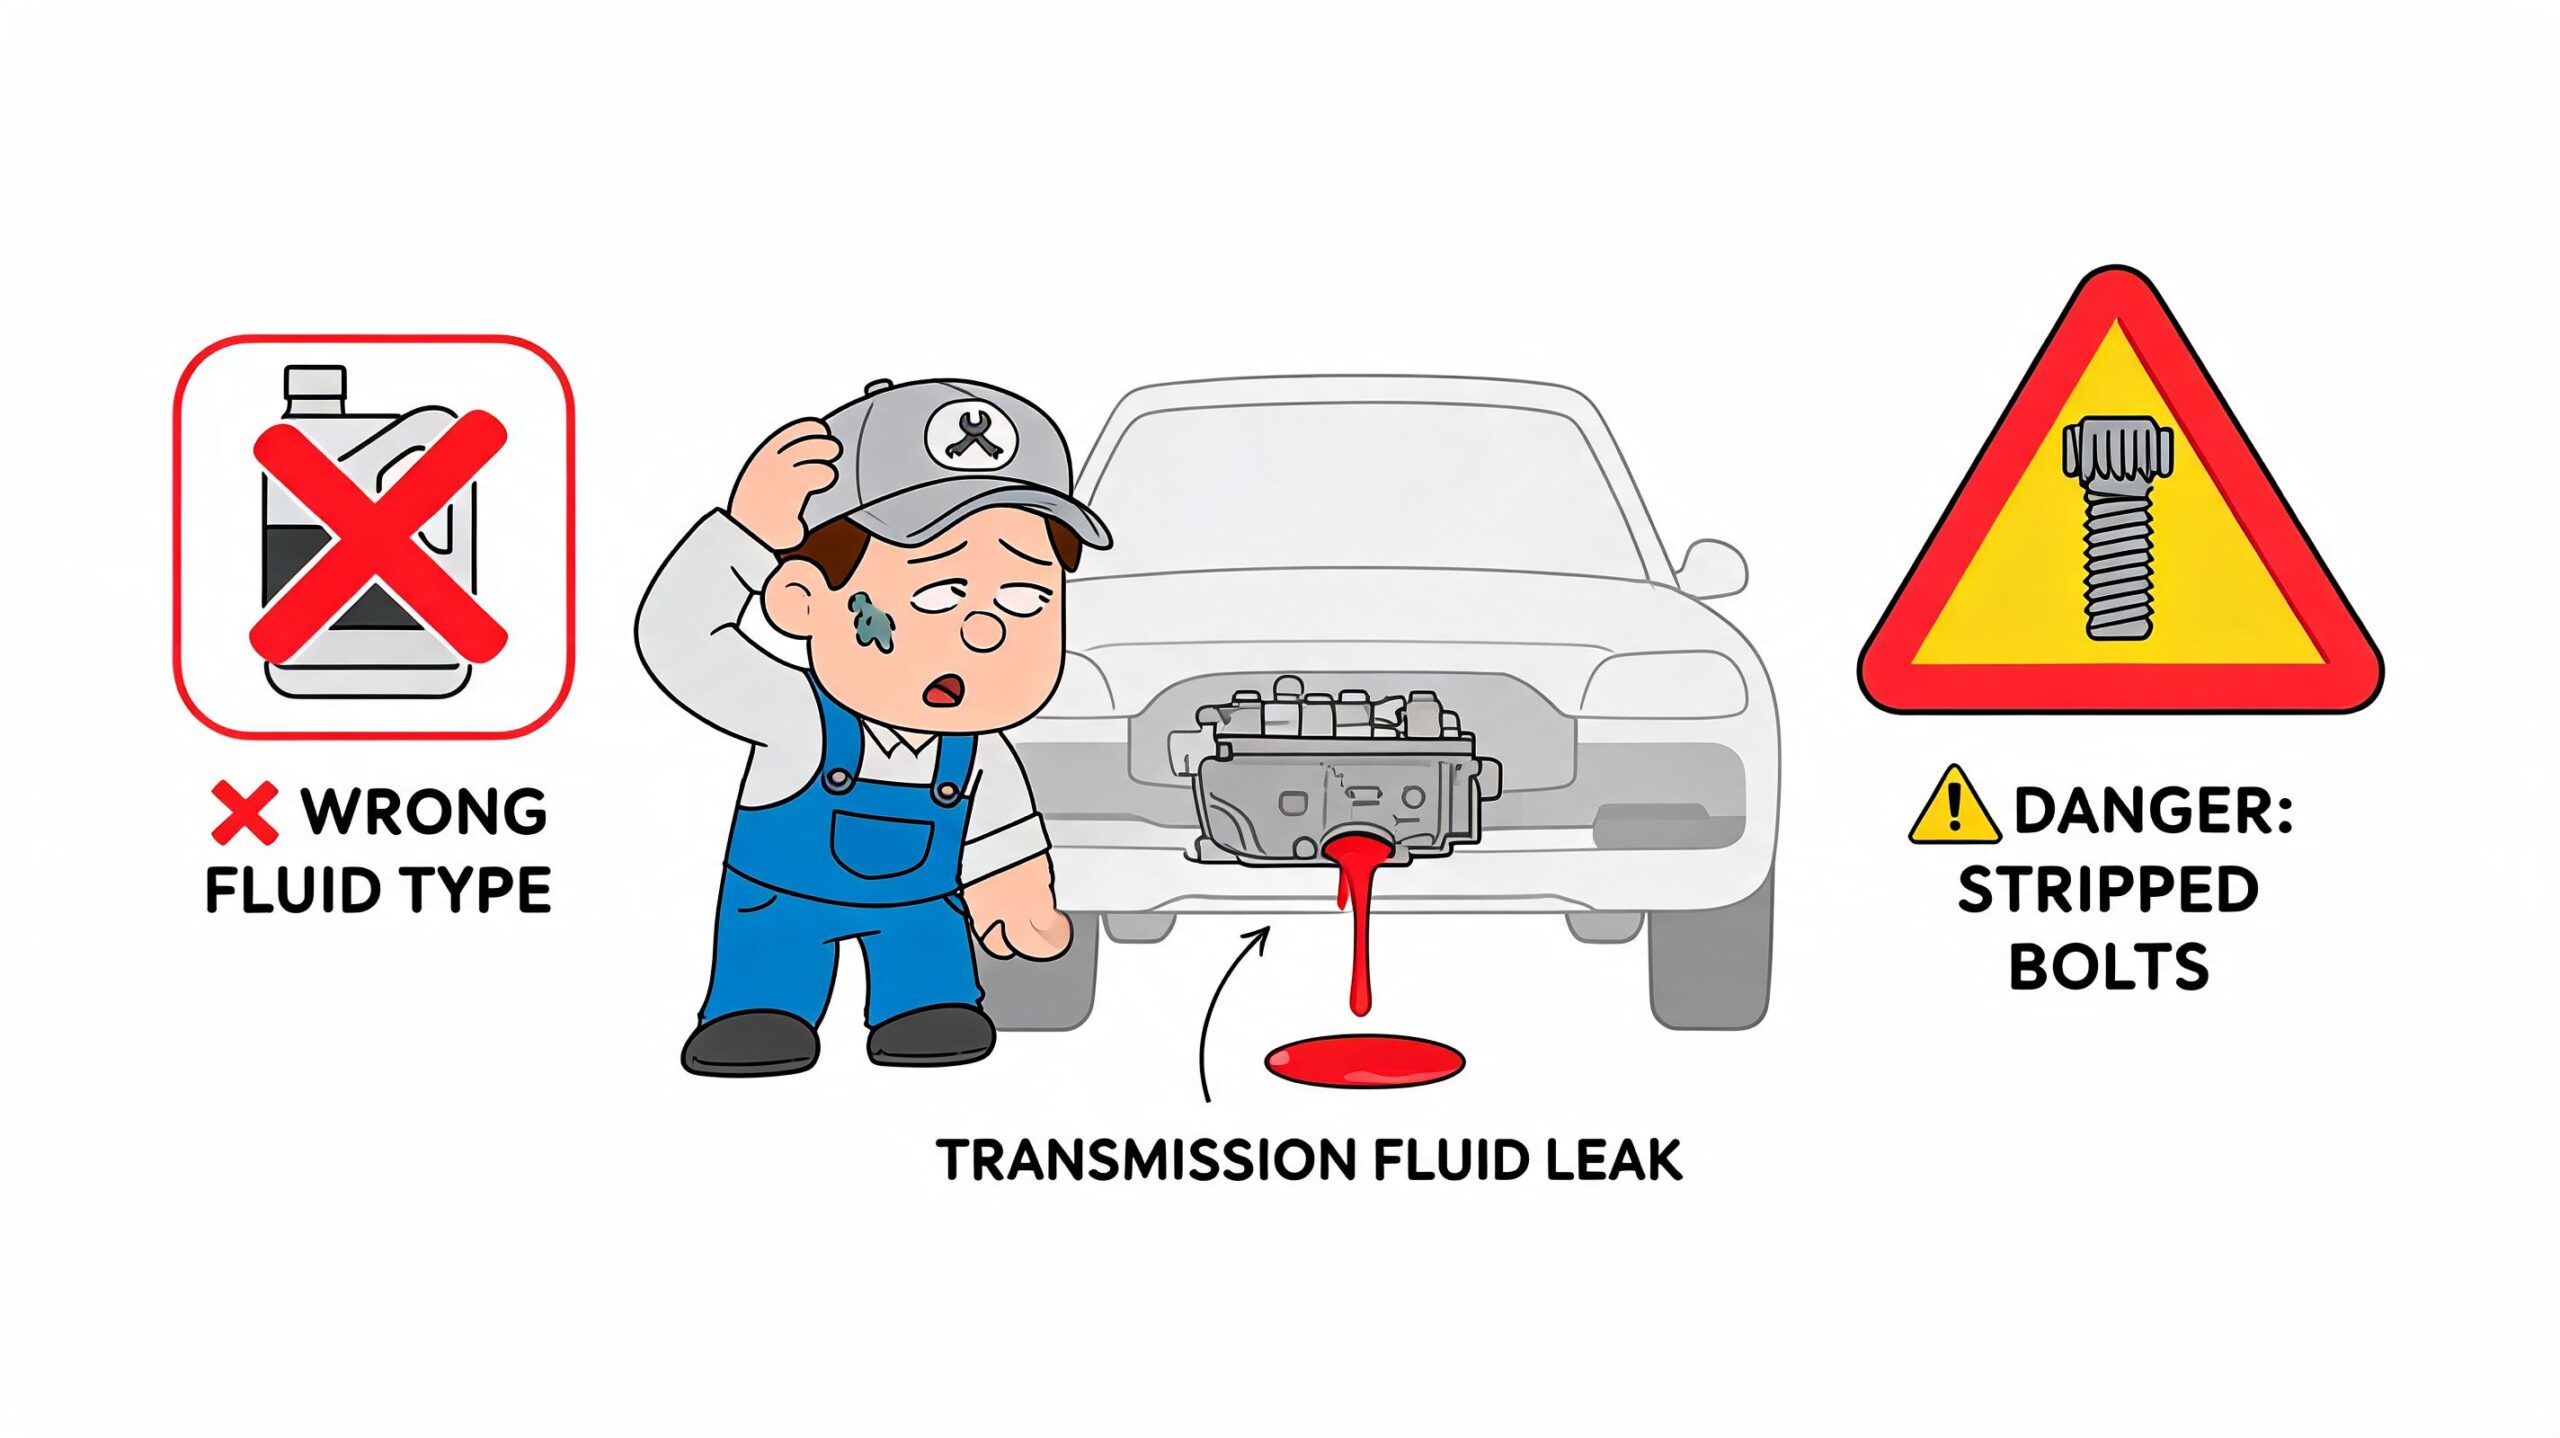
Don’t use shortcut fluid logic
Don’t buy fluid based on color, bottle marketing, or “works in most vehicles.”
Do this instead. Pull the exact spec from the owner’s manual or service information, then match it precisely. Transmission friction characteristics matter. The wrong fluid may still look right in the bottle and still behave wrong inside the unit.
Don’t overfill it
Overfilling is common because people focus on what they added, not what the transmission needs after cycling and warming up.
Do this instead:
- Measure what drains out: Use a marked container.
- Add in stages: Don’t dump the full supply in at once.
- Recheck at the proper temperature: Follow the vehicle-specific procedure.
- Look for aeration symptoms: Foamy fluid and erratic shifting often point to an incorrect level.
Too little fluid is dangerous. Too much fluid can be just as harmful because the rotating assembly can whip it into foam.
Don’t assume every transmission wants a flush
DIY confidence should slow down at this point.
Some very high-mileage transmissions with unknown history don’t respond well to a full exchange. If the fluid is extremely old and the unit already slips badly, a flush can stir up material that was sitting harmlessly until flow changed. In those cases, some owners choose a conservative drain and fill first or skip DIY entirely and get a professional assessment.
That doesn’t mean flushes are bad. It means condition matters more than internet rules.
Don’t treat CVTs and sealed units like old-school automatics
A lot of modern vehicles aren’t friendly to driveway transmission work. CVTs often use unique fluid and precise level-setting procedures. Some sealed transmissions need temperature monitoring, special pumps, or factory service steps that don’t leave room for guesswork.
A safer way to decide is this checklist:
- Call the pros if the transmission is a CVT.
- Call the pros if there’s no dipstick and the level must be set by temperature.
- Call the pros if you can’t identify the cooler return line confidently.
- Call the pros if the transmission already slips hard, bangs into gear, or shows heavy debris.
- Call the pros if the vehicle has leak issues you haven’t repaired yet.
DIY Flush vs Trusting the Pros at Kwik Kar
There’s nothing wrong with doing your own maintenance if the vehicle is suitable and you’re methodical. A home transmission flush can save money on labor and give you a clear look at what came out of the unit. It also takes patience, safe lifting equipment, and enough experience to know when to stop.
Professional service earns its keep when the transmission has a tricky level procedure, a sealed design, or warning signs that point beyond old fluid.
Side-by-side comparison
| Factor | DIY Flush | Kwik Kar Professional Service |
|---|---|---|
| Access to the system | Depends on your vehicle layout and tools | Handled by technicians with shop equipment |
| Fluid exchange control | You manage flow manually through the cooler-line method | Controlled service process with dedicated equipment |
| Filter and pan inspection | Possible if you have access, space, and parts | Completed as appropriate for the vehicle design |
| Risk level | Higher if line ID, fill procedure, or level setting is uncertain | Lower for drivers who want the job verified start to finish |
| Time and cleanup | You handle setup, mess, and fluid disposal | Shop handles service workflow and disposal |
| Best fit | Capable owner, conventional automatic, clear service info | Sealed units, CVTs, unknown history, shifting complaints, busy schedules |
When DIY makes sense
DIY is reasonable when the transmission is a conventional automatic, the service procedure is documented clearly, and the vehicle isn’t already showing signs of internal damage. It also helps if you’ve done fluid service before and know how to work safely under a vehicle.
When a shop is the smarter move
A shop is the better call when you need certainty. That includes vehicles with hard-to-access cooler lines, precise temperature-based fill procedures, or symptoms that might require diagnosis before any flush. It also makes sense if you want someone to inspect for leaks, pan debris, and related issues while the service is being done.
If you’re comparing cost and what’s included, this transmission flush cost guide gives a useful starting point for weighing driveway effort against a professional visit.
For a lot of Richardson drivers, the deciding factor isn’t ability. It’s time, confidence, and how much risk they want to carry on a component that’s expensive to replace.
If your transmission is shifting rough, overdue for service, or you’d rather have the job handled by certified technicians, Kwik Kar Oil Change and Auto Care can inspect the fluid, recommend the right service for your vehicle, and help you avoid the mistakes that turn maintenance into repairs.